After making the Graphic45 Birthday Book, one of my subbies ask “What can I make with the leftover envelopes?”
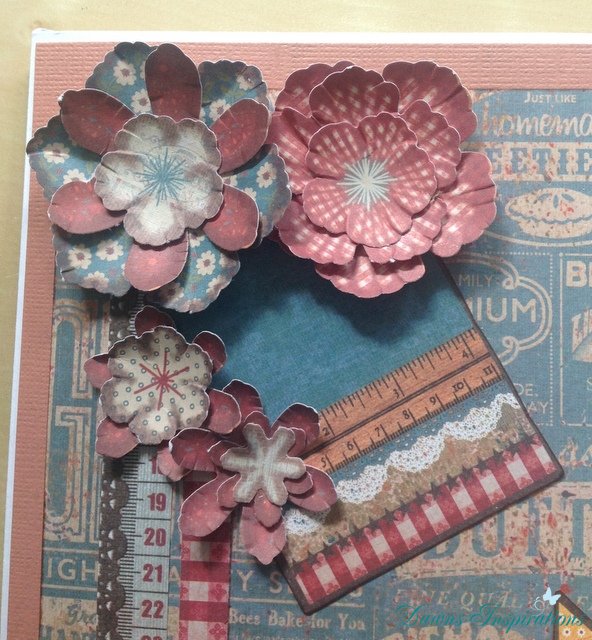
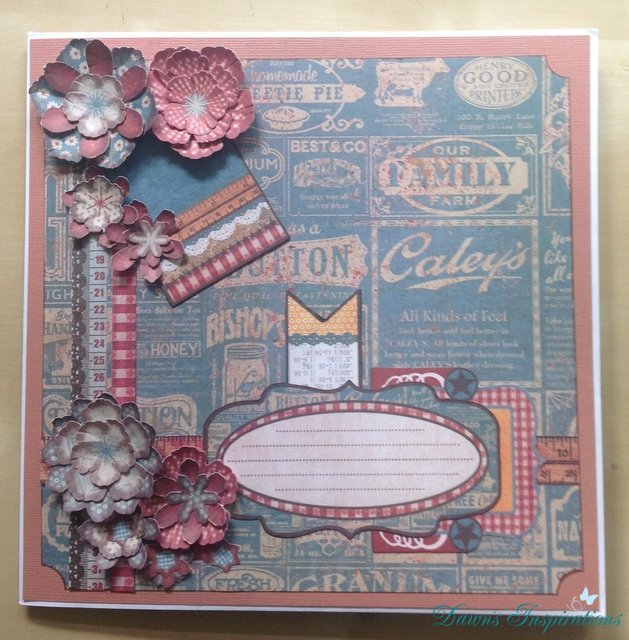
Well here is a really quick Mini you can make!
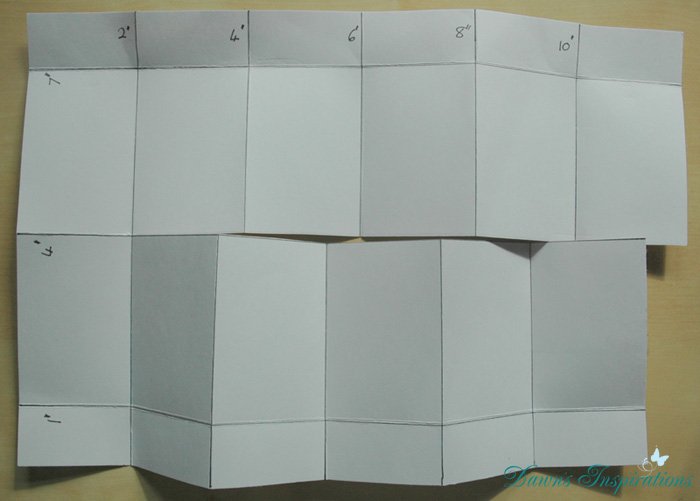
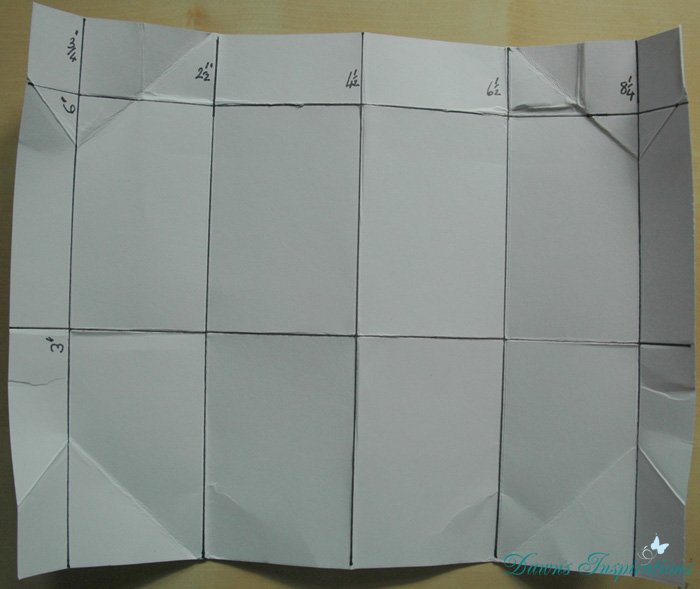
I made this using just 4 of the envelopes, freebie paper collection (8×8 size) and some coordinating card stock.
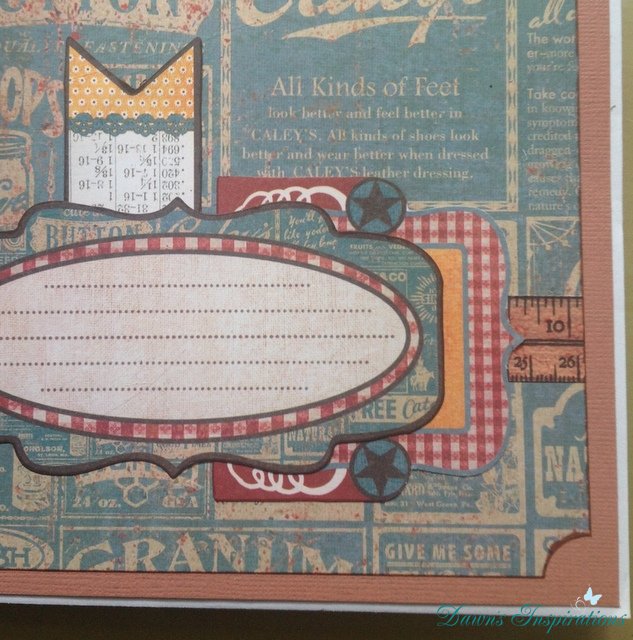
If you don’t have this freebie you can always use any 8×8 papers or even cut down some 12×12.
Also if you don’t have any 8×8 envelopes you can make this mini with any size square envelopes.
So go no create along with me in this Video Tutorial and you too can make this super quick mini.
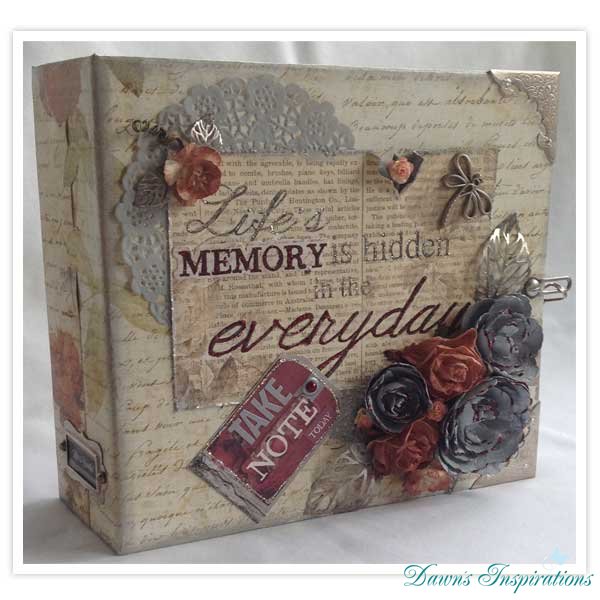
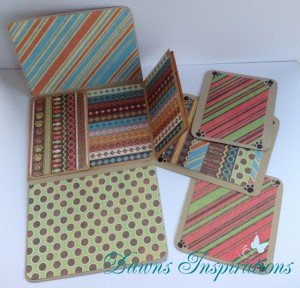
 Here is my take on a Mini Album is a designed by Steff Miller, she did a

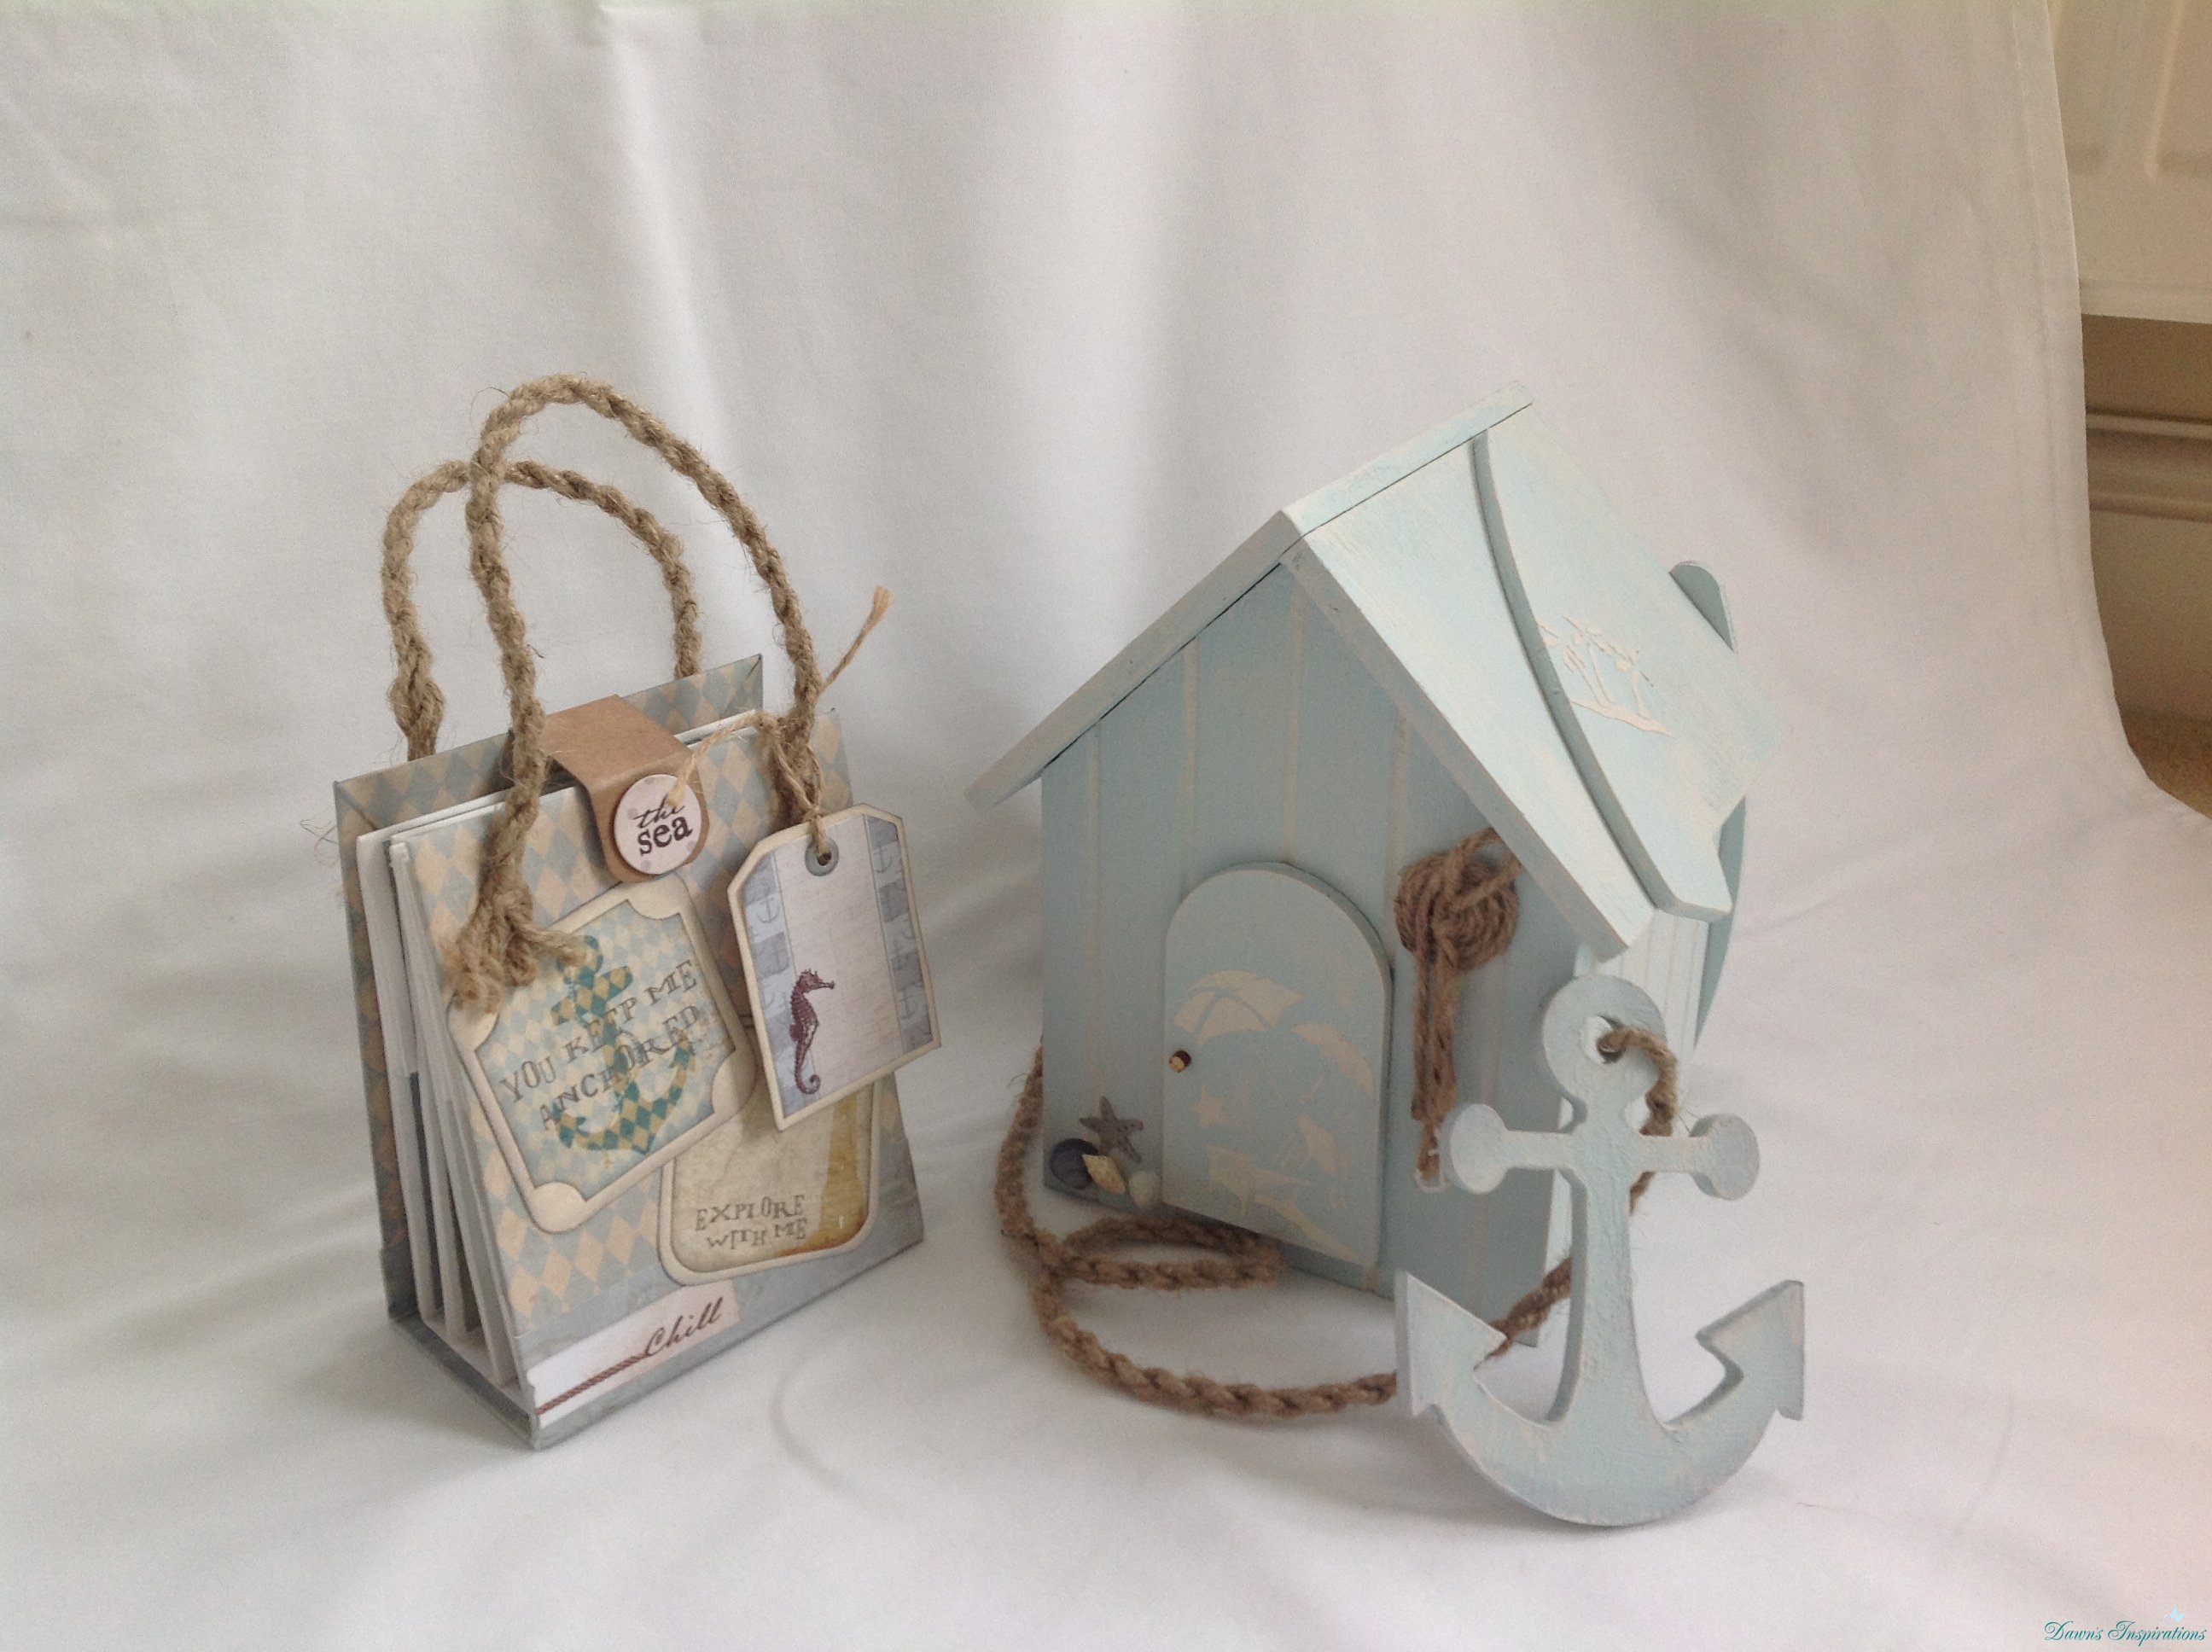
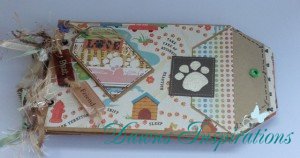 Here is a great tag book mini I have made following Stephanie Miller’s Tutorial https://www.youtube.com/watch?v=zNhsKVlIbtg.
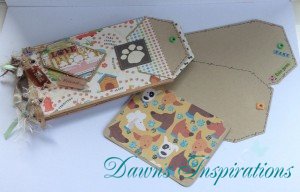 The paper collection and bags where sent to me by my subbie Maria and I have really enjoyed crafting with them.
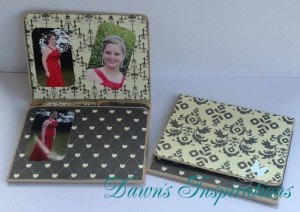
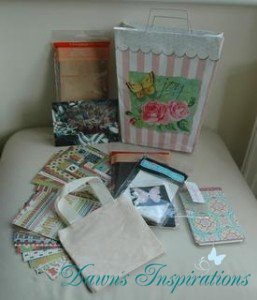 I would love to send a big thank you to Maria as she sent me this lovely gift from US.
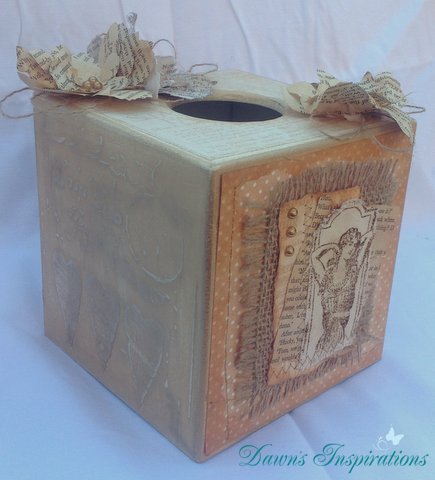

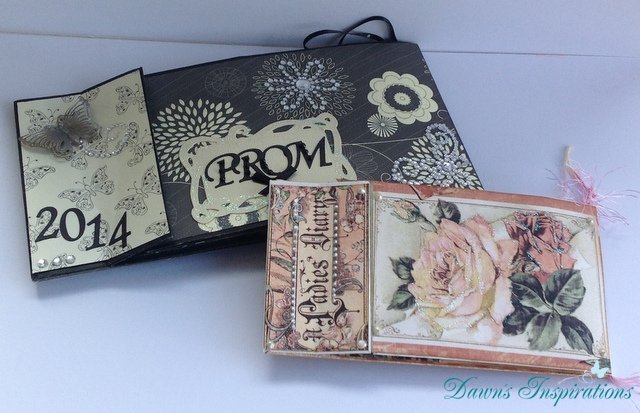
 I know a lot of you are enjoying this
 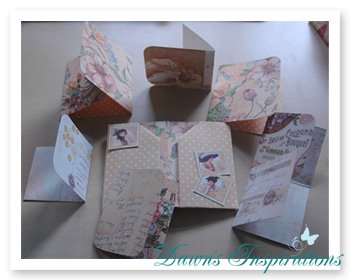 Mini Scrapbooks out of One Sheet of 12×12.