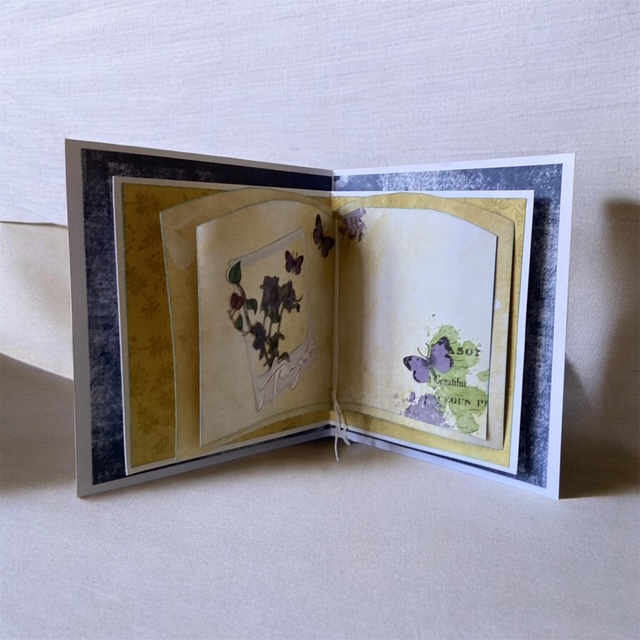
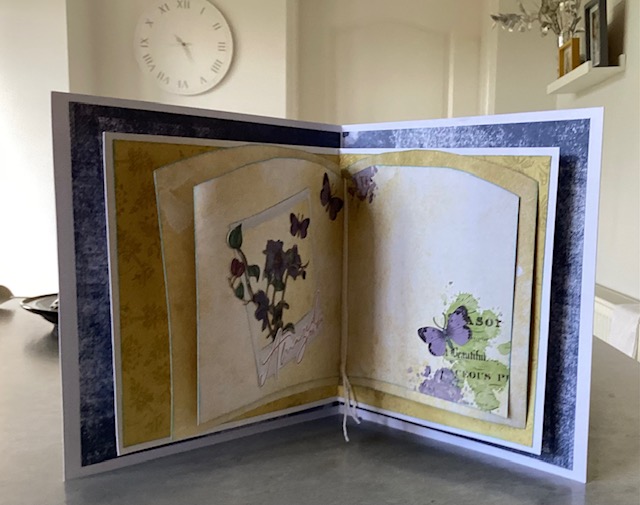
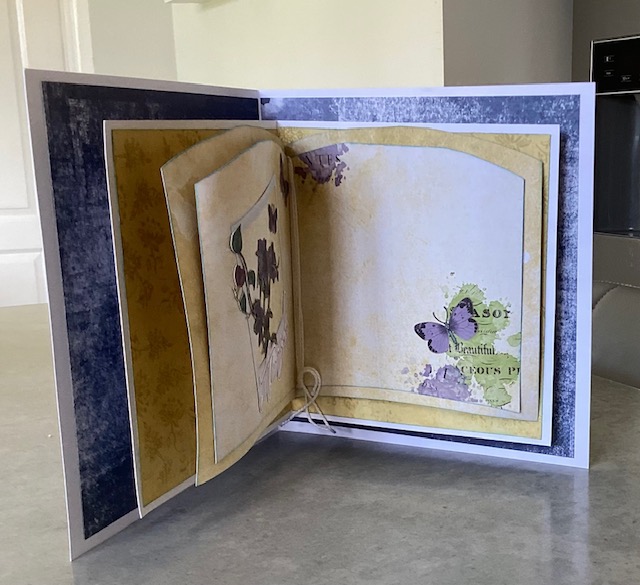
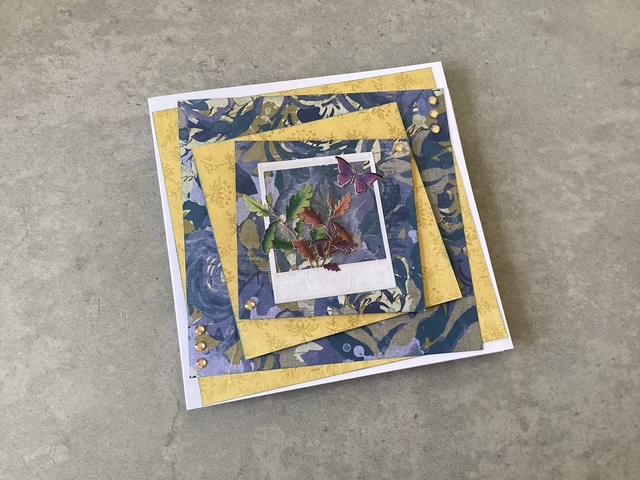
Dawn's Inspirations

  • Shop
  • Cart
  • Account
  • Buy Tutorials
    • A-Z Scrapbook Classes
    • 8″ Folios
    • Albums
    • Mini Albums
    • Retreat Albums
    • 12 ” Folios
    • Advent Calendars & Projects
  • Online Workshops
  • Free Tutorials
  • Off the Page Projects
  • Cards
  • Bespoke Designs
You Are Here: Home > Free Tutorials

April 27, 2026 by Dawn

Making a Floating Book Pop Up Card

You can Craft O’Long with me to create this Floating Book Card which is a show stopper of a card that will WOW the recipience.

So gather your Supplies; 8″x8″ card Blank, 6″x6″ card Blank, 2 pieces of card 4″x4″ 1 piece of card 3″x4″ and some decorative papers.

You can what the video here and the measurements are below the video.

8″x8″ Card Blank folded in half

6″x6″ Card Blank folded in half

3″x4″ Card in short side score at 1/2″ -1 1/2″- 2 1/2″

2 pieces at 4″x4″ Score at 1″ -2″-3″

Decorative Papers:

2 pieces 7 3/4″ x 7 1/2″ for the inside of the card.

1 piece cut to 11 1/2″ x 5 3/4″ score on long side at 5 3/4″

1 piece cut to 11″ x 5 1/2″ Score on long side at 5 1/2″

Card front decoration of your choice.


Filed Under: Free Tutorials

March 22, 2026 by Dawn

Craft O’clock Craft O’Long with Adam & Dawn

if you missed todays Craft O’clock Craft O’Long with Adam & Dawn you can watch it back here.

If you would like the PDF to go with the Craft O’Long you can sign up for it here https://dawnsinspirations.com/join-adam-dawn-for-a-relaxing-sunday-morning-craft-olong/

Filed Under: Free Tutorials, Off the Page Projects

August 13, 2025 by Dawn

Craft with Me #9

In this weeks Craft with Me #9. I share a super quick Scrapbook Layout which can also be used as a layout in a 12″ x 12″ Folio or even the Front Cover of a Folio or Album. Have fun in creating your own along with me.

Filed Under: Free Tutorials, Scrapbook Layouts

July 14, 2025 by Dawn

Craft with Me #8

In this weeks Craft with Me YouTube Live – Wednesday 16th July 4pm BST we will be making a Mini Album from one sheet of A3 Card.

Here are the supplies and tools you will need;

Supplies

  • One sheet A3 card 250/300gsm
  • One sheet A4 card the same.
  • Two sheets 12×12 decorative papers or scraps you have left from another project cut to – 4 at 4 1/4” x 5 1/2” and also 6 at 3 3/4” x 5 1/2”
  • Embellishments to decorate as you wish.

Tools

  • Inches scoreboard
  • Paper trimmer
  • 6mm red line tape
  • Glue
  • Bone folder
  • Corner rounder

Score A3 on long side at 4″ 8″ 12″ and do a quarter turn and score at 5 3/4″. Watch the video to see how easy this is to make. You need 3 tags one at 3 3/4″ x 5 1/4″ and two tags at 3 1/2″ x 5 1/2″

patterned Papers to decorate are 4 at 4 1/4″ x 5 1/2″ and six at 3 3/4″ x 5 1/2″

Filed Under: Free Tutorials

July 5, 2025 by Dawn

Craft with Me #6 & #7

This is a two part Mini Album Craft with Me. #6 is the pages using Elisa from Just a Few Designs idea of a One Page Binding which uses one sheet of double sided 12″ x 12″ per page.

Filed Under: Free Tutorials

June 25, 2025 by Dawn

How To – A4 Double Sided Adhesive Sheets

In this weeks Pink Frog Facebook Live I share with you different ideas on “How To” your A4 Double sided Adhesive Sheets

Filed Under: Free Tutorials, Tips and Techniques

June 25, 2025 by Dawn

Craft with Me #5

Craft with Me #5 -YouTube Live is all about different ways to Mat & Layer the front covers of your Memory Books, Albums and Folios as well as other projects too. So join me for this YouTube Live on Wednesday 25th June at 11am BST

Filed Under: Free Tutorials

June 22, 2025 by Dawn

Craft with Me #4 – Making Embellishment – 1

On this “Craft with Me” we are going to look at making out own embellishments but this time with a Paper Clip Base.

These embellishments can then be adding to your Scrapbook Pages, Folios, Albums and Cards making good all those bits and pieces we hang on to -just in case!

Filed Under: Free Tutorials, Off the Page Projects

June 11, 2025 by Dawn

Men’s Shirt Gift Bag & Card

Here is a great project when gift giving the men in your life, it works well for so many male occasions – Father’s Day-Birthday’s-Wedding Gifts- etc

The smaller one is made from just one sheet of A3 card and then the larger one is made from 2 sheets of A3 card. I have also made a matching Card in 2 different styles from an 8″ x 8″( 20cm x 40cm Card)

So what the videos and Craft -along with Me.


Filed Under: Free Tutorials, Off the Page Projects

June 11, 2025 by Dawn

Flip Style Mini Album – Book 2

Here is the second Book in my Flip Style Mini Album and the 2 together look great in the Slip File Cover. Perfect to gift or keep for yourself.

Flip Style Mini Album Book 2

Flip Style Mini Album – Book 2; holds 10 photos
You will need 5 sheets of A4 card stock and patterned paper and
embellishments to decorate.

  • Cut 1 sheet of card stock to measure 10 1/4” x 6 1/2″. Then score on long
    side at 4 5/8”  in on each end.
  • Cut 4 sheets of card stock at 9″ x 6 1/2″ and then score on long side at 4
    1/2″.
  • Cut a strip of 3/4″ x 6 1/2″ to reinforce the spine.
  • Cut 12 Patterned Papers as portrait pattern 4 1/4″ x 6 1/4″
  • cut 2 Patterned Papers 7/8″ x 6 1/4″

Now you can watch the video to see how to put the album together.

File Storage for Flip Style Mini Album
You will need 2 sheets of A4 card and patterned papers and embellishments to decorate.

  • Cut 2 at 8 ¾” x 8 ¼”
  • Score both on the short side at 2 ¼” 6 ¾”
  • Score both on the long side at 6 ½”
  • Patterned Papers cut 1 at 2″ x 2 3/4″
  • Patterned Papers cut at 2″ x 6 1/4″
  • Patterned Papers cut 2 at 4 1/4″ x 6 1/4″
  • Now you can watch the video to see how to put it together.


Filed Under: Free Tutorials

June 4, 2025 by Dawn

Flip Style Mini Album – Book 1

This is a quick super cute Mini Album Book you can make in no time at all with very few supplies.


Flip Style Mini Album -Book 1


Flip Style Mini Album – Book 1; holds 10/12 4 x 6 photos

You will need 3 sheets of A4 card stock and patterned papers and embellishments to decorate.

  • Cut 2 sheets of the cardstock to measure 10 1/4″ x 6 1/2″. Then score these on the long side at 4 1/2″ – 4 3/4″- 9 1/4″ – 9 1/2″.
  • Cut 1 sheet of cardstock to measure 10″ x 6 1/2″. Then score on the long side at 4 1/2″ and 5 1/2″.
  • Cut a strip 3/4″ x 6 1/2″ to reinforce the spine.
  • Cut 12 Patterned Papers as portrait pattern 4 1/4″ x 6 1/4″
  • cut 2 Patterned Papers 7/8″ x 6 1/4″

Now you can watch the video to see how to put the album together.

File Storage for Flip Style Mini Album

You will need 2 sheets of A4 card and patterned papers and embellishments to decorate.

  • Cut 2 at 8 ¾” x 8 ¼”
  • Score both on the short side at 2 ¼” 6 ¾”
  • Score both on the long side at 6 ½”
  • Patterned Papers cut 1 at 2″ x 2 3/4″
  • Patterned Papers cut at 2″ x 6 1/4″
  • Patterned Papers cut 2 at 4 1/4″ x 6 1/4″

Now you can watch the video to see how to put it together.

Filed Under: Free Tutorials

May 27, 2025 by Dawn

Wine Box & Wine Bottle Cover

In this weeks Pink Frog Facebook Live, I created a Wine Box and also Wine Bottle Cover using the Pink Frog A3 Card. 

Follow the FB Live Video to see how to make these and I have also put all the measurements I used here too.


Wine Bottle Cover

  • A3 Card score on long side at 5cm 10cm 15cm 20cm 25cm 30cm and cut at 34cm. (2″ 4″ 6″ 8″ 10″ 12″ cut at 12 1/2″)
  • On short side score at 5cm in on both ends. (2″ in on both ends)

Decorative Panels

  • Base mats – cut six at 4.5cm x 19cm (1 3/4″ x 7 1/2″)
  • Top mats – cut six at 4cm x 18cm (1 1/2″ x 7 1/4″)


Wine Box

  • Bottom Box use A3 card and score on long side at 10cm 20cm 30cm 40cm (4″ 8″ 12″ 16″) using the Box Base score lines on your score board.
  • Then score on the short side at 10cm (4″) using the Box Base score lines on your score board.
  • Box Lid use A3 card and score on long side at 10cm 20cm 30cm 40cm (4″ 8″ 12″ 16″) using the Box Base score lines on your score board.
  • Then score on the short side at 10cm (4″) using the Box Base score lines on your score board. You can then trim down box lid to fit the height of your wine bottle.
  • Box insert – use A3 card and score on the long side at 10cm 20cm 30cm 40cm (4″ 8″ 12″ 16″) using the Box lid score lines on your score board.

Decorative Panels

  • Base layer Box Base – cut four at 9cm x 19cm (3 1/2″ x 7 1/4″)
  • Top layer Box Base – cut four at 8cm x 18cm (3 1/4″ x 7″)
  • Base layer Box Lid – cut four at 9cm x 12cm (3 1/2″ x 4 1/2″)
  • Top layer Box Lid – cut four at 8cm x 11cm (3 1/4″ x 4 1/4″)
  • Lid Topper – cut one at 9cm x 9cm (3 1/2″ x 3 1/2″) and one at 8cm x 8cm ( 3 1/4″ x 3 1/4″)

Filed Under: Free Tutorials, Off the Page Projects

  • 1
  • 2
  • 3
  • …
  • 13
  • Next Page »
  • My Account

© 2026 · Dawns Inspirations

Dawn's Inspirations Logo
Don’t miss out on all things Crafty!
Be the first to know when a tutorial is released or where I’ll be demonstrating next.


Keep me up to date on your news.
For more information on how we process your data, please view my privacy policy.