Here in the UK Father’s Day is in a couple of weeks, so here is a quick and easy project.
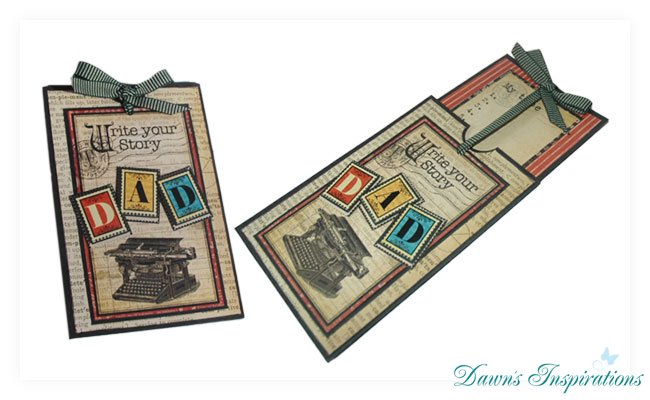
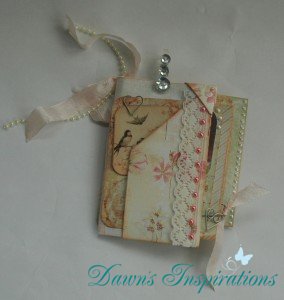
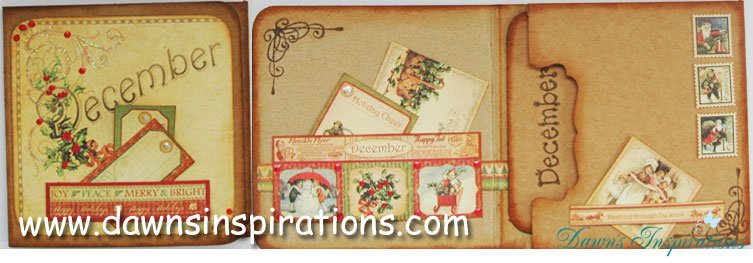
The Card Frame makes a great gift, all you then need to do is slip in your 6×4 photos and you have the perfect gift to put a smile on any Dad or Grandfathers face.
So get crafty and make a special gift for the man in your life.
Supplies you will need;
2 sheets of A4 Kraft Card
I sheet of kraft packaging or chipboard
Embellishments if you wish
2 photos of 6×4 measurements
Measurements;
Cut one of the A4 sheets to measure 7″ x 11 1/2 ” Next I put this through my Ebosser using the A4 Cable embossing Folder.
I then on the longside scored this in 5 1/2″ on either end. Using a distress ink pad I then inked over the embossed pattern to show more texture.
Next I stuck this down to my Kraft packaging/chipboard using Collall All Purpose Glue and set it to one side to dry. While this is drying you can then make your frames.
From your other sheet of kraft card cut 2 pieces measuring 5 1/2″ x 6 3/4″ and score this in at 1/4″ on 3 sides. Now using a cutting die or kraft knife make an aperture frame to showcase your photos. Ink you edges to match your project.
Using your stamp of choice you can stamp a background to your cover to give this a patterned look. I then used a letter stamp set to make my words to give my project a personal touch. I cut these out and stuck them down with 3D Glue.
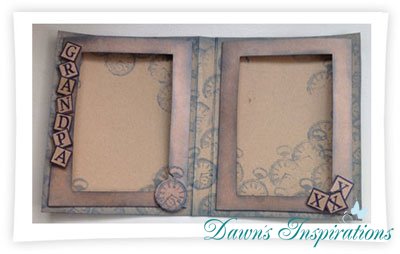
Your Card Frame is now ready for you to add your photos and give as a gift for Fathers Day.
Other ideas for Fathers Day Gifts
Faux Leather Notebook Cover Tutorial
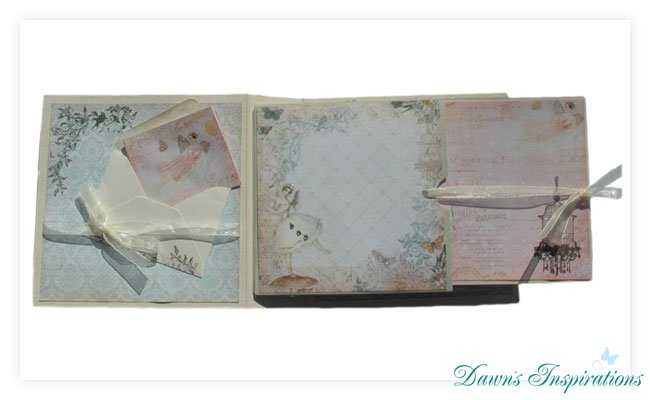
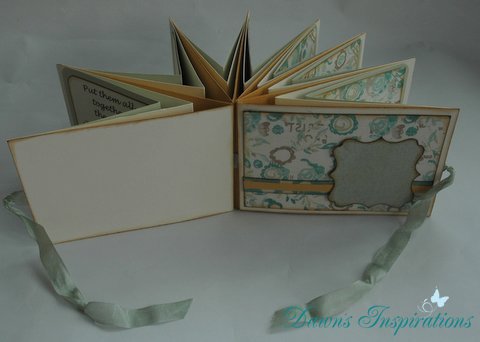
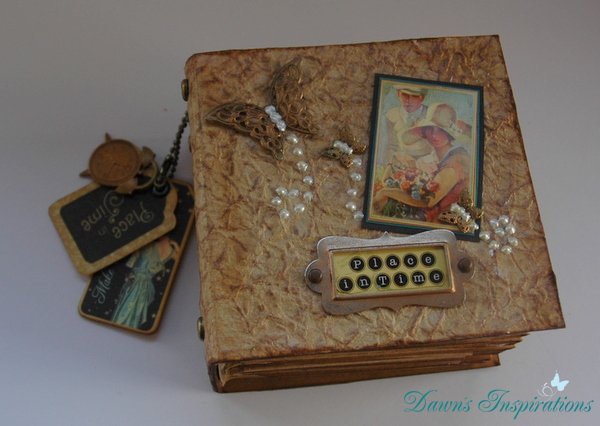
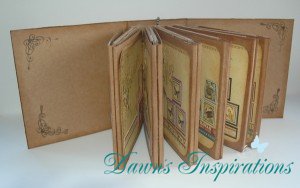
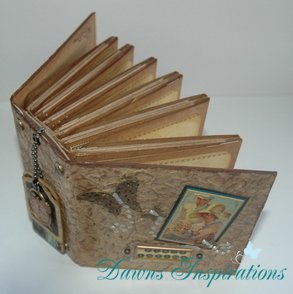
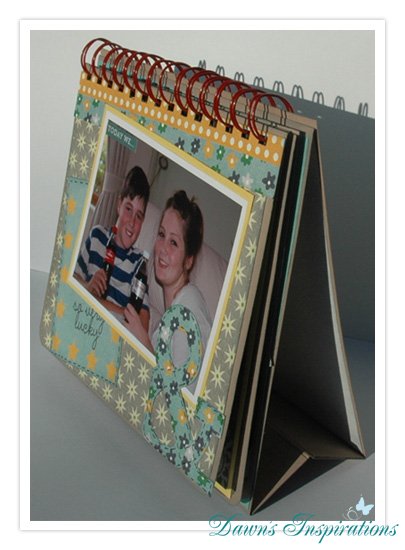
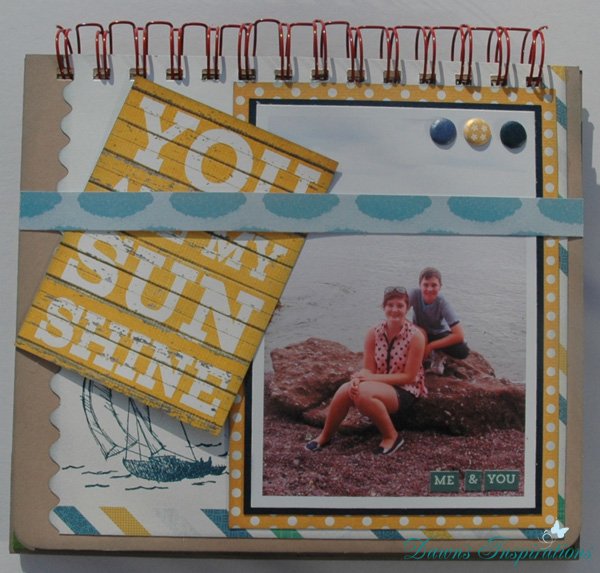
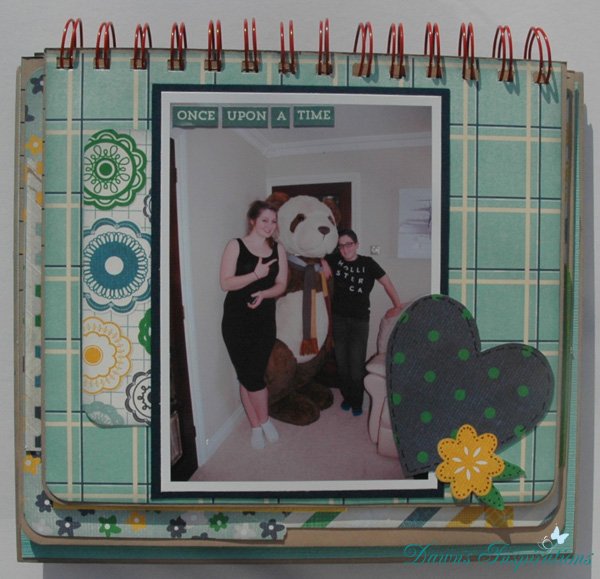
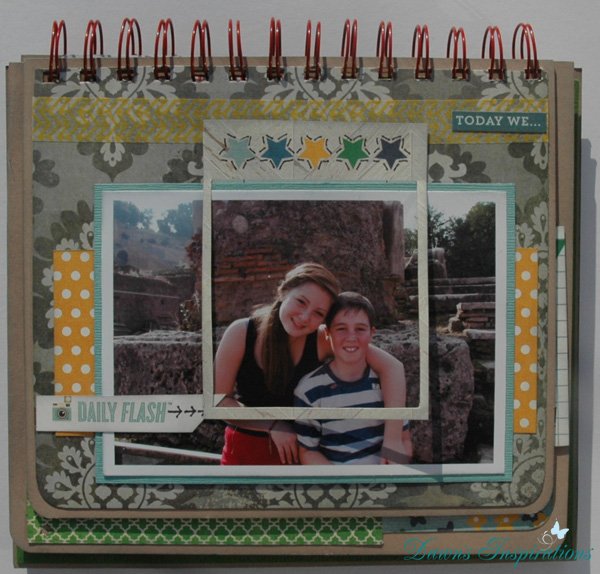
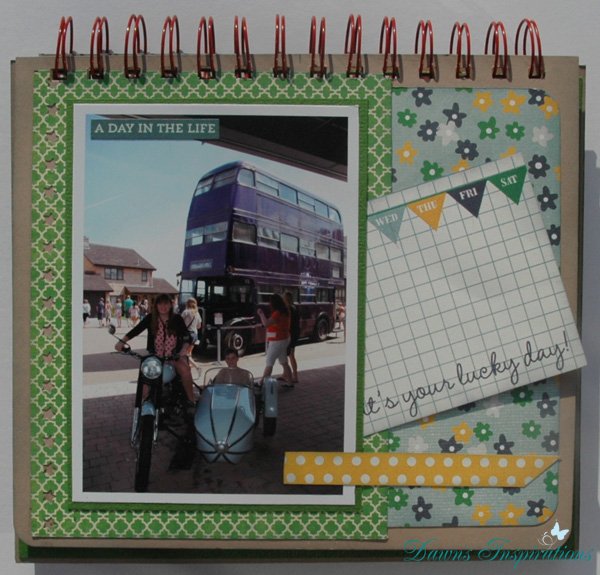
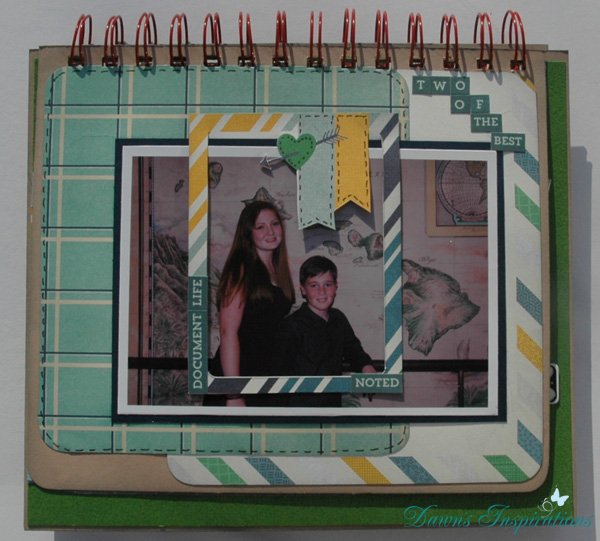
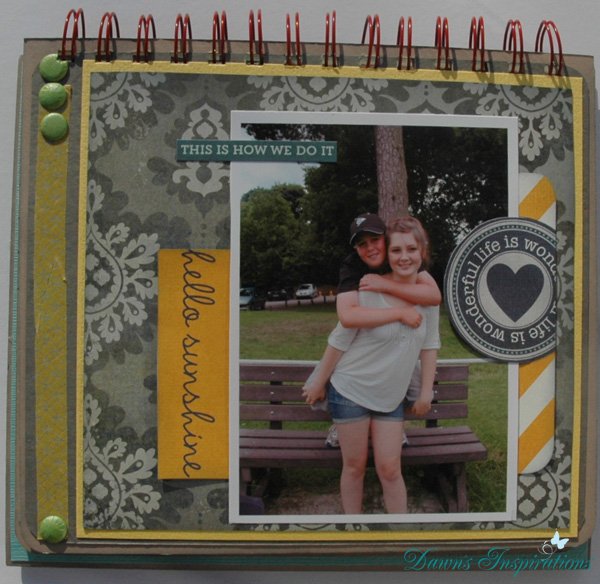
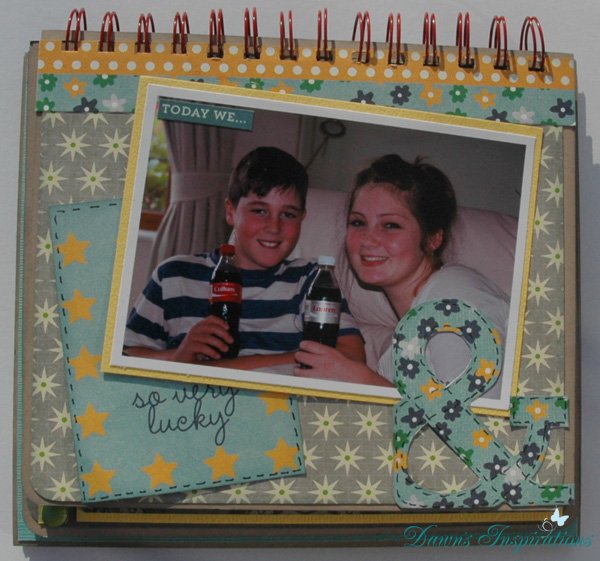
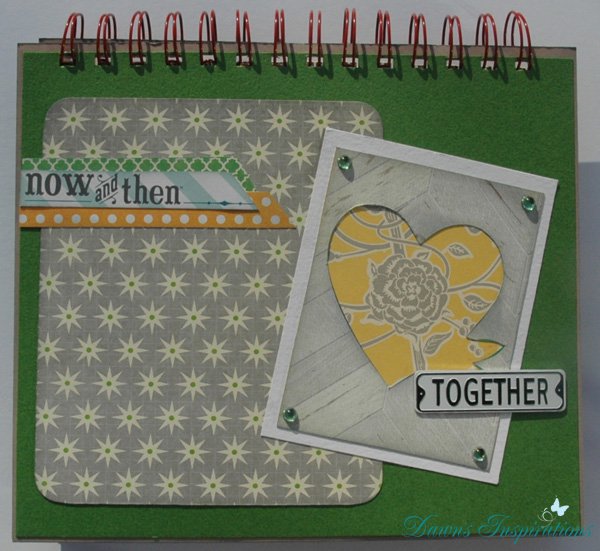
Desktop Flip Style Mini Album Tutorial
 This project was a request from one of my followers Leslie so I do hope she enjoys my tutorial?

 I will show you not only how to make you own slider cards but also how you can make a Slider Mini Album too.