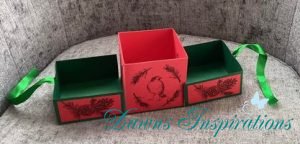
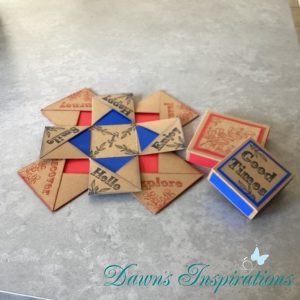
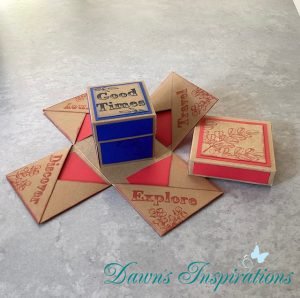
I have been making these Cracker Boxes for years but not just for Christmas as I do them for Easter and even gift giving anytime of year.
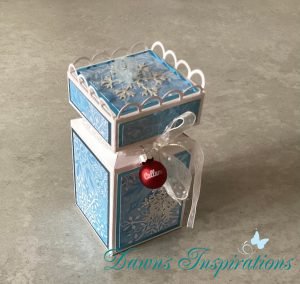
My “Fill your own Cracker Boxes” are great at Christmas as you can get nicer gifts inside and other treats too! Just like my “Fill Your Own Advent Calendars” .
These can be used year after year if you store them and my original ones are 20 years old so thought it was time to update them as the children are older now.
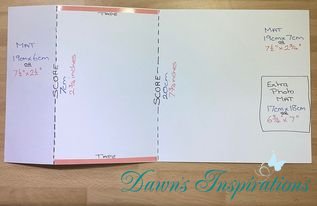
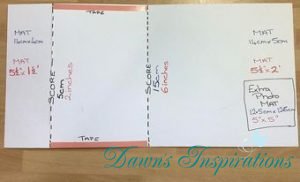
Take an A4 sheet of card and on the long side score at 2 3/4″ – 5 1/2″- 8 1/4″ and 11″.
Then on the short side score one end at 2 3/4″ and then do a half turn and on the other end score at 1″- 1 1/2″ and 2″
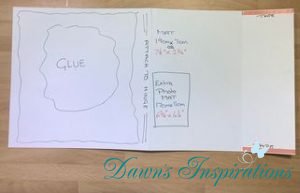
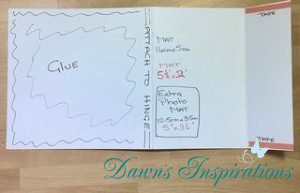
To make a lid, cut a piece of card at just under 4 3/4″ x just under 4 3/4″ ( this means your lid will fit inside your cracker box top.)
If you watch the video I give you all the measurements for all the mats and layers, plus it is filmed in real time so you can have me with you in your craft room making your own Cracker Boxes.
Have fun and enjoy making yours!


 Supplies you will need are;
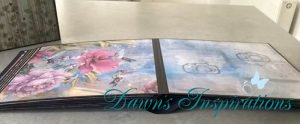

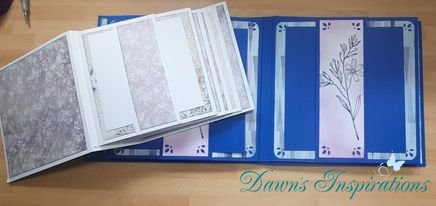

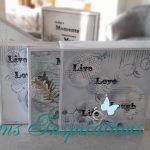
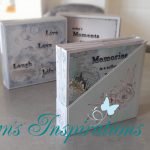
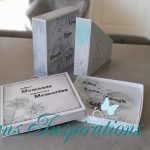
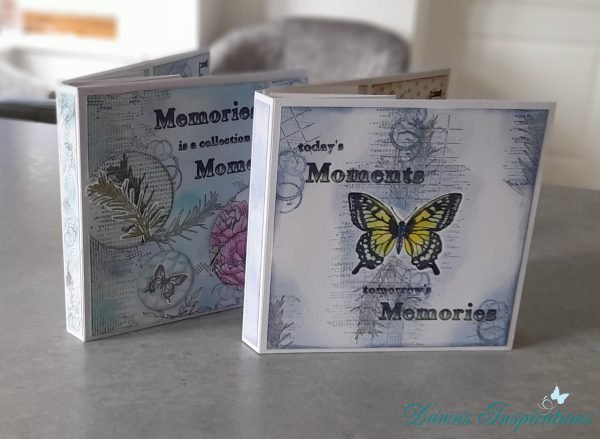
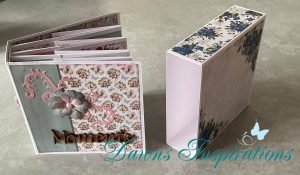
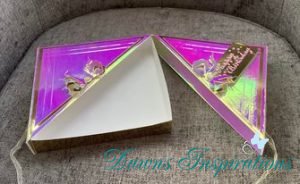
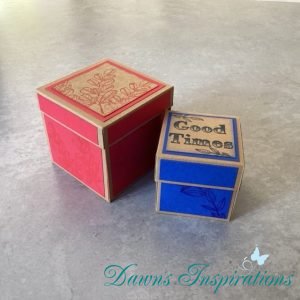
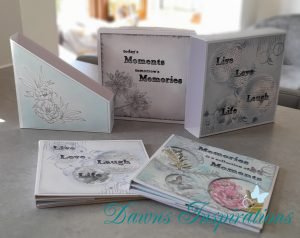 Here are 3 different ideas to use as Presentation Boxes or Storage for your