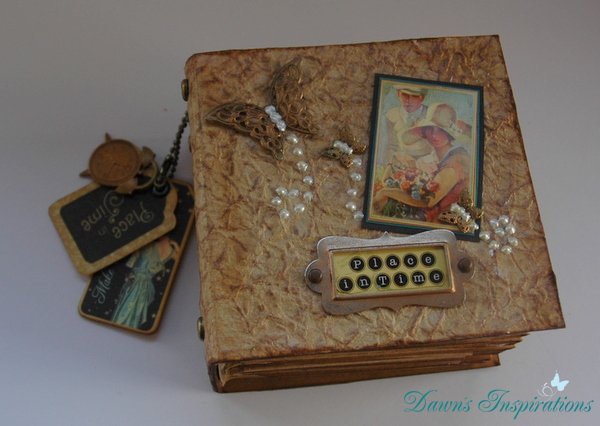
This is a project I filmed as a tutorial last year after a workshop I did with the MDF Man.
Jodie Lee one of the paper designs from Prima then use this mini in one of the Ustream live videos and thanked me for sharing so I thought I would share it again with you.
I was so pleased that she had not only been watching my video tutorials but that she had choosen to use this mini albums for her live Ustream tutorial to showcase her latest Princess Paper Collection.
Many of you have been in touch after seeing her video with such lovely comments so I decided to re film it using Jodie Lee Princess Collection.
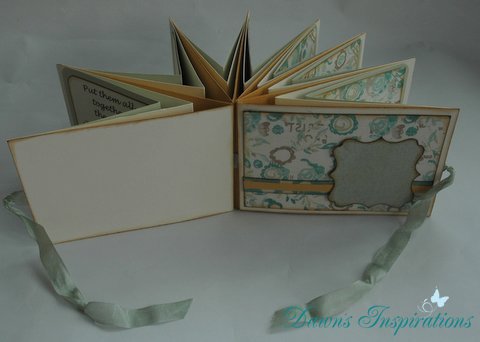
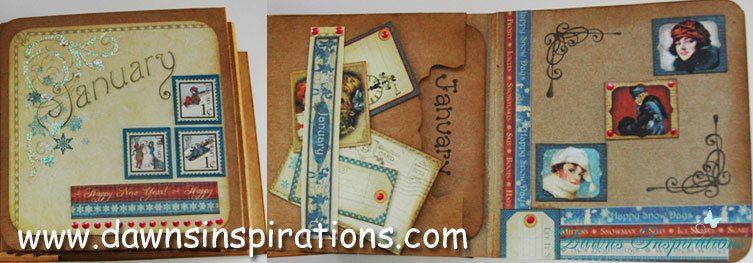
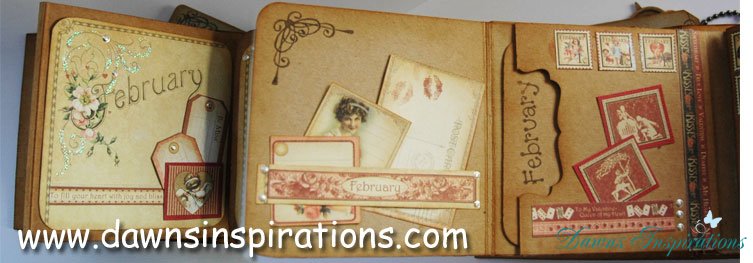
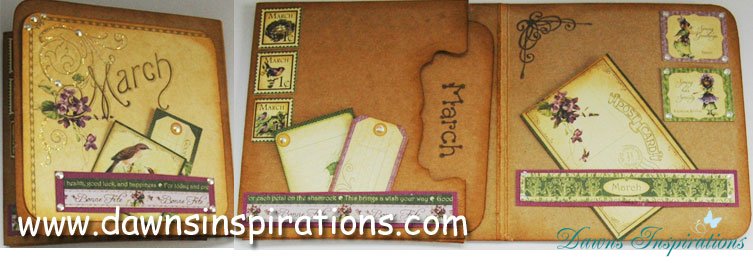
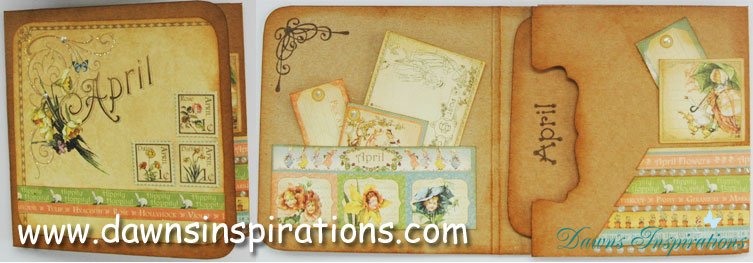
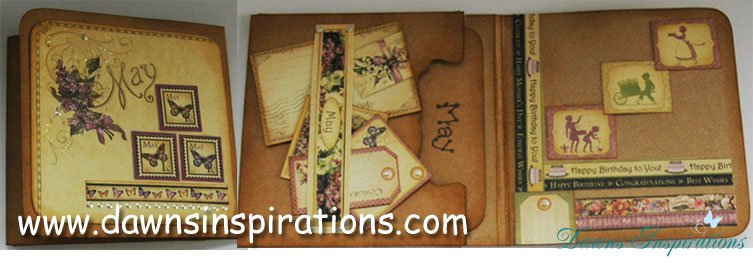
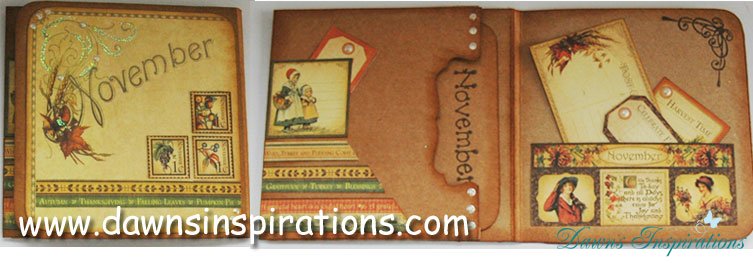
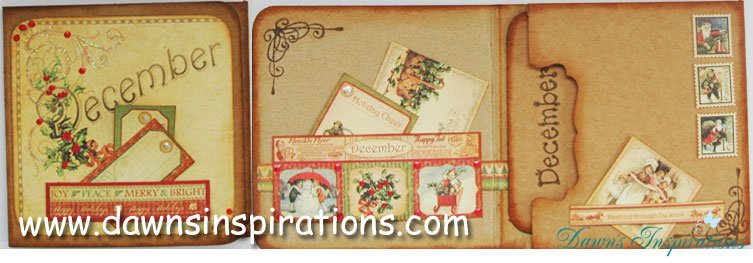
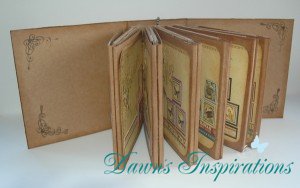
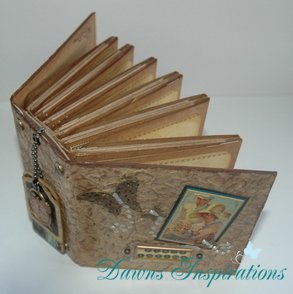
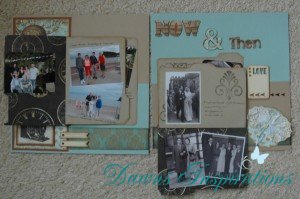
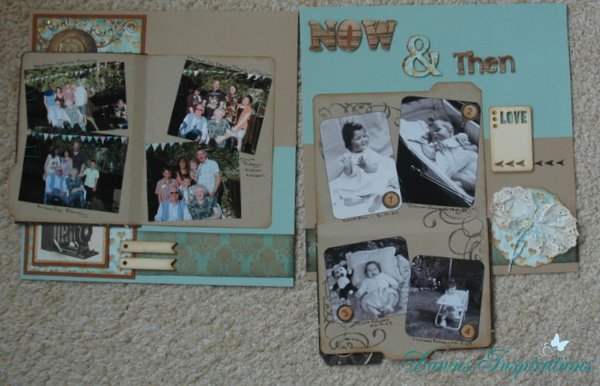
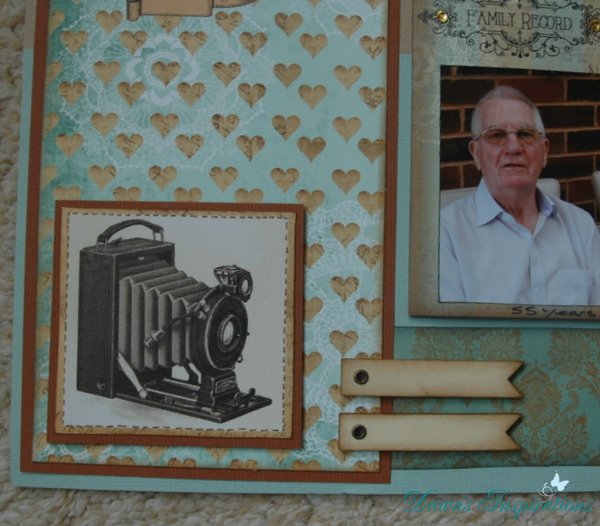
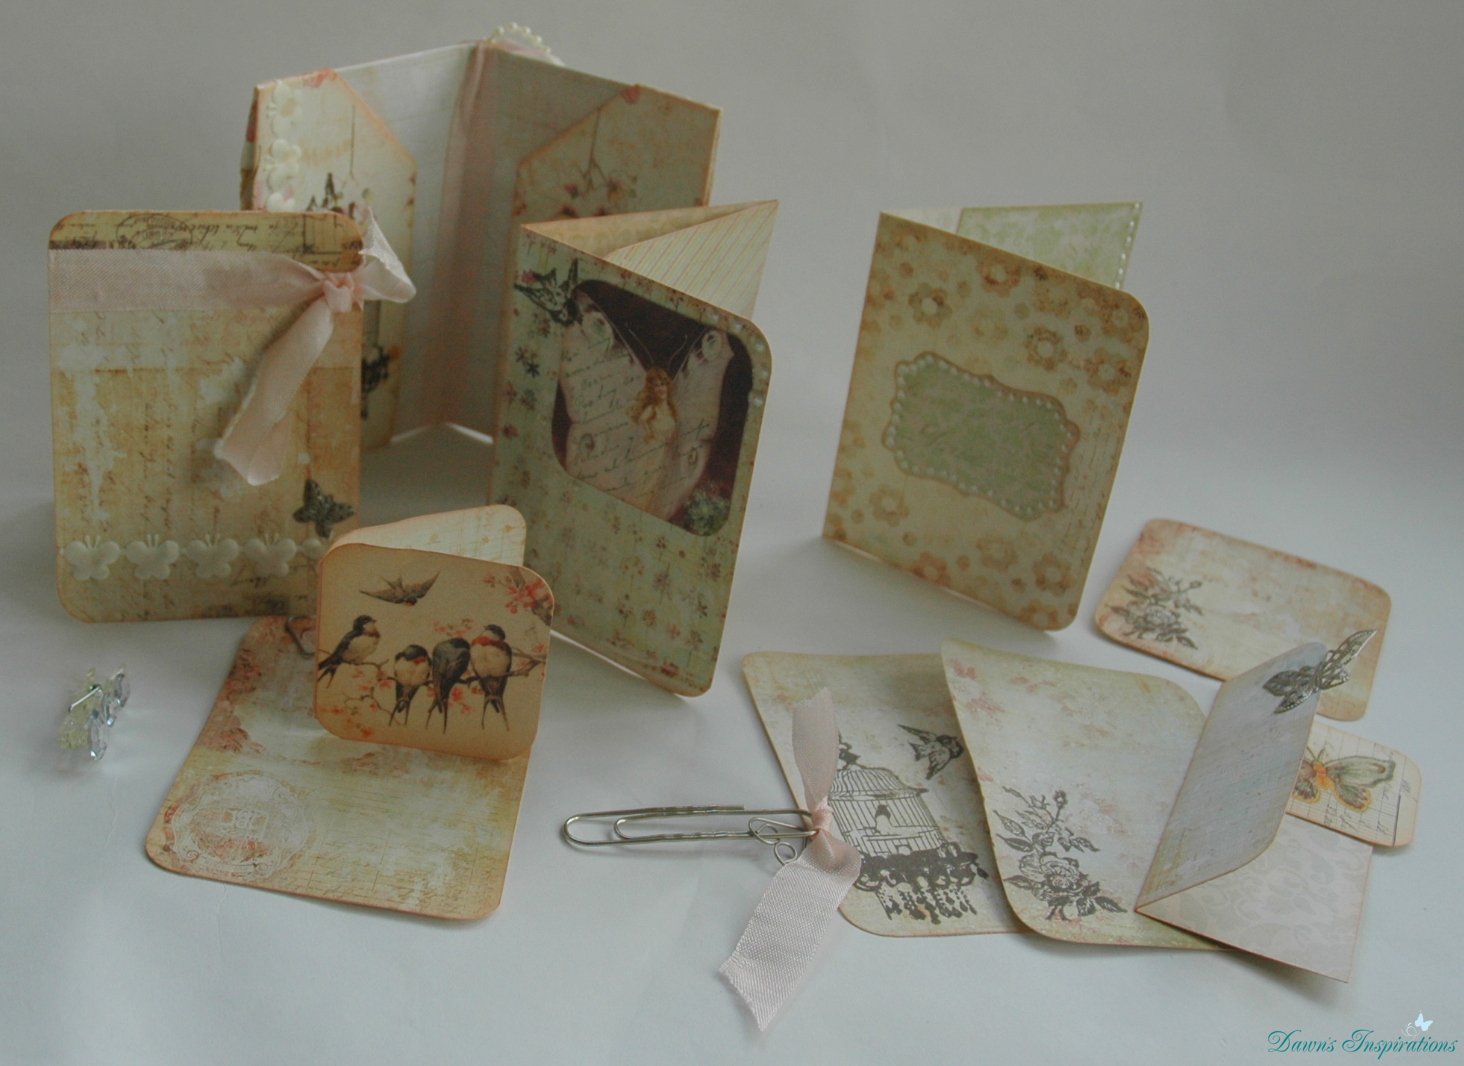
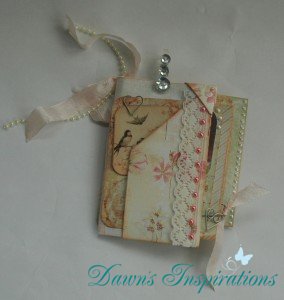
I used one sheet of the Lily Paper for the main wallet and one sheet of Mia and some of Collage for the tags and booklets.
You can see my video tutorial so you to can make this beautiful Wallet Pocket Mini. This great little wallet uses no adhesive and very few materials so a great project. Go on why not have a go at making your own and revisit one of my favorites.
Here is the link to my original https://www.youtube.com/watch?v=CJBF8…
here is the link to Jodie Lee Ustream video https://www.youtube.com/watch?v=ofXaK…