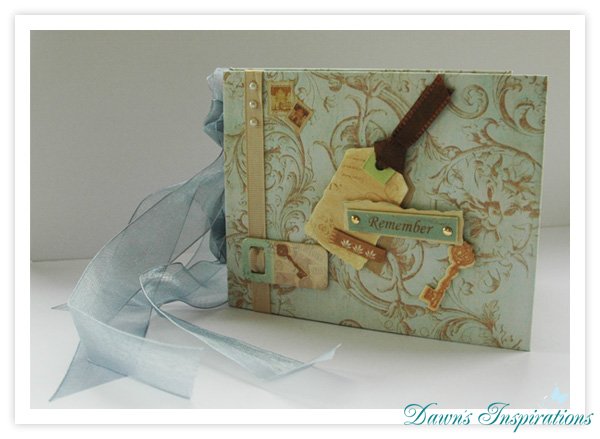
I am delighted to let you know my latest online Workshop is now live!! You can see it here – http://dawnsinspirations.com/shop/simple-envelope-mini-scrapbook-album-online-workshop/
I am delighted to let you know my latest online Workshop is now live!! You can see it here – http://dawnsinspirations.com/shop/simple-envelope-mini-scrapbook-album-online-workshop/
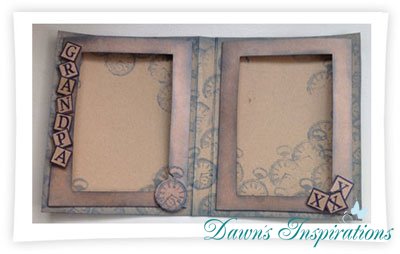
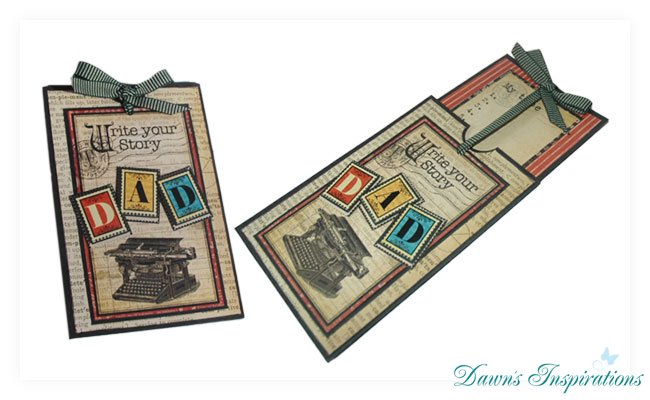
 Here in the UK Father’s Day is in a couple of weeks, so here is a quick and easy project.
The Card Frame makes a great gift, all you then need to do is slip in your 6×4 photos and you have the perfect gift to put a smile on any Dad or Grandfathers face.
So get crafty and make a special gift for the man in your life.
2 sheets of A4 Kraft Card
I sheet of kraft packaging or chipboard
Embellishments if you wish
2 photos of 6×4 measurements
Cut one of the A4 sheets to measure 7″ x 11 1/2 ” Next I put this through my Ebosser using the A4 Cable embossing Folder.
I then on the longside scored this in 5 1/2″ on either end. Using a distress ink pad I then inked over the embossed pattern to show more texture.
Next I stuck this down to my Kraft packaging/chipboard using Collall All Purpose Glue and set it to one side to dry. While this is drying you can then make your frames.
From your other sheet of kraft card cut 2 pieces measuring 5 1/2″ x 6 3/4″ and score this in at 1/4″ on 3 sides. Now using a cutting die or kraft knife make an aperture frame to showcase your photos. Ink you edges to match your project.
Using your stamp of choice you can stamp a background to your cover to give this a patterned look. I then used a letter stamp set to make my words to give my project a personal touch. I cut these out and stuck them down with 3D Glue.
Your Card Frame is now ready for you to add your photos and give as a gift for Fathers Day.
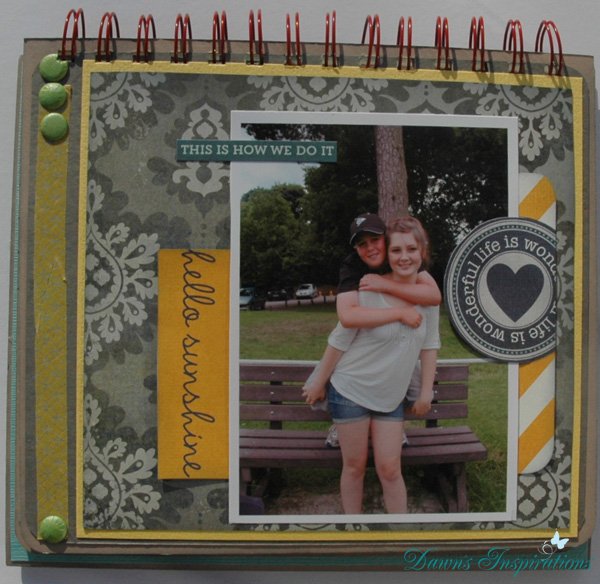
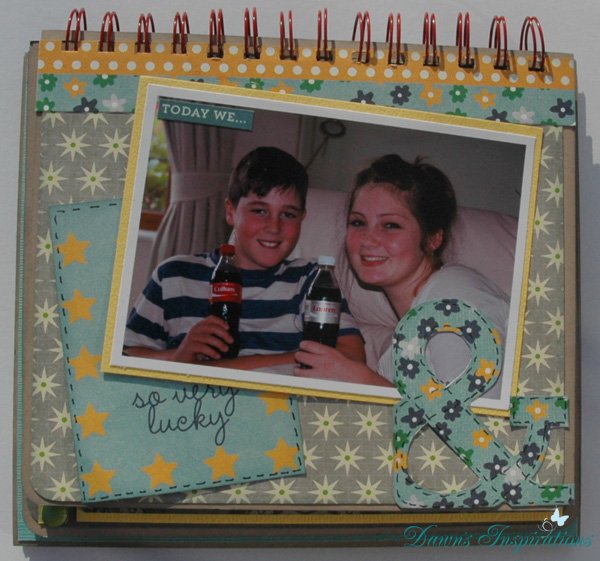
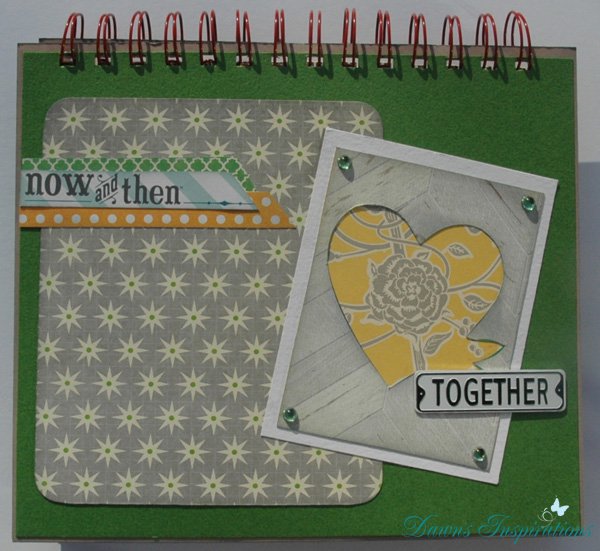
Faux Leather Notebook Cover Tutorial
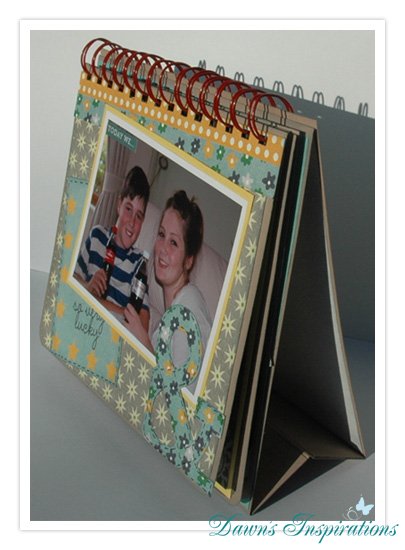
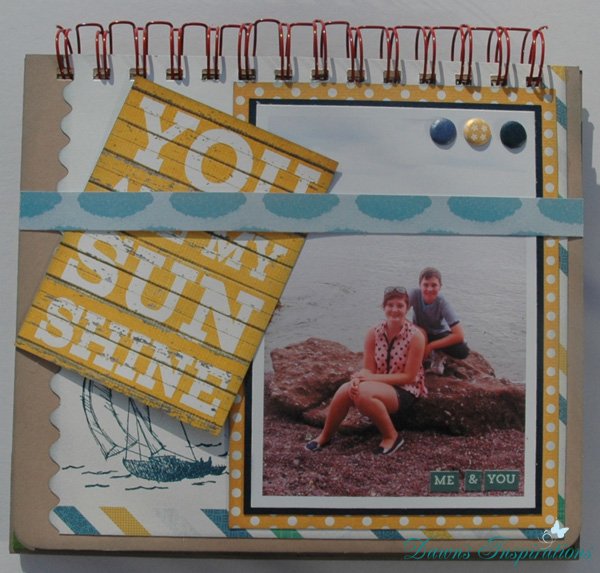
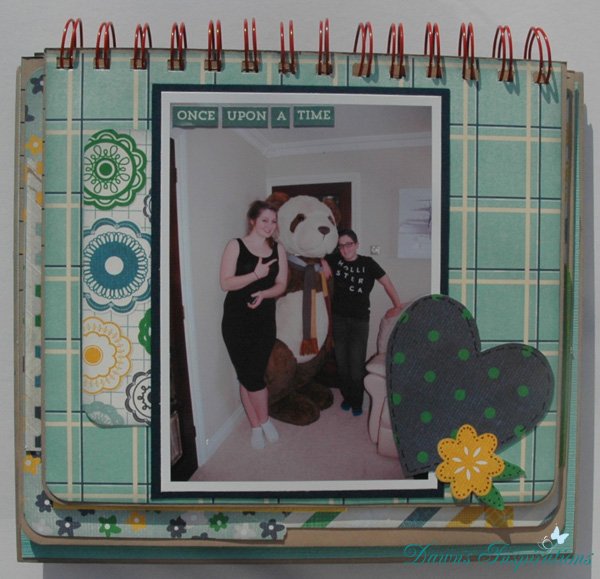
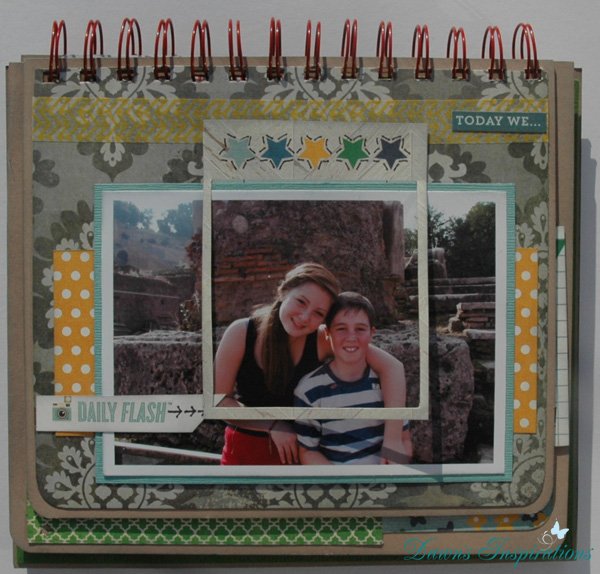
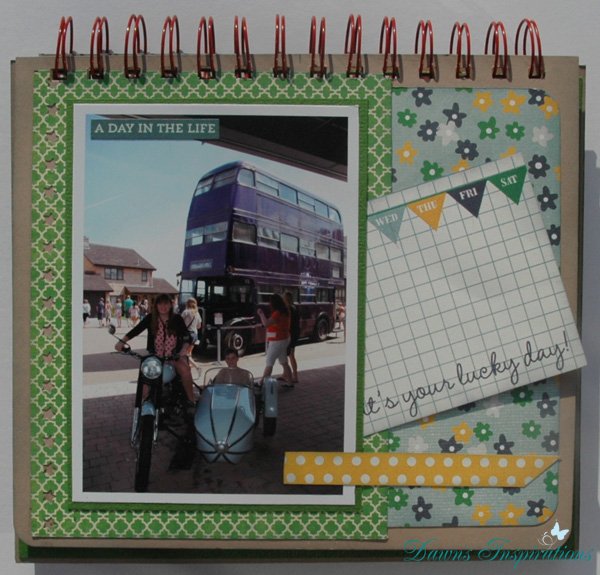
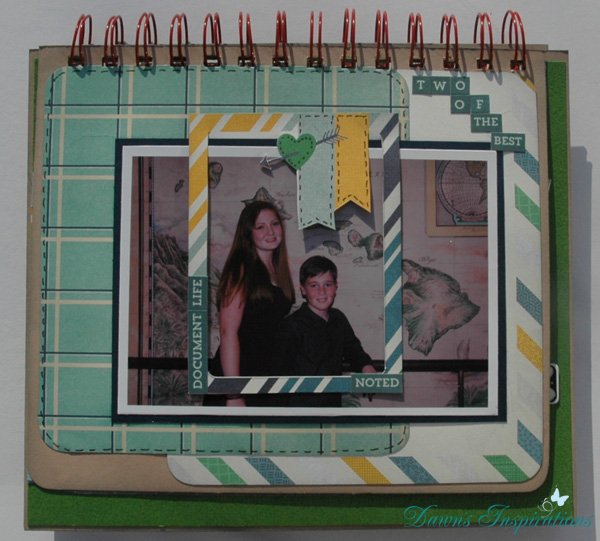
Desktop Flip Style Mini Album Tutorial
 This project was a request from one of my followers Leslie so I do hope she enjoys my tutorial?
I have made this project using a Scrapbooking Kit from Papermaze and a foolscap file folder.
I really enjoyed this project as it meant I could do lots of mini scrapbook layouts, you do not need to add photos you could use quotes instead. Why not use your favourite inspirational quotes or sayings.
This make a great gift for both male and female and can be made to fit any age too.
So let you creativeity loose and enjoy making this project.
The video tutorials are on a playlist so the next one will follow once the first one if finished.
Using a foolscap file folder; fold this in half and cut it to measure 8″ x 8 1/2″ (do not cut on the folder side)
Put your folded side up to the edge of your score board and score this at 1 1/2″.
From the scaps cut 4 pieces measuring 8″ x 1 3/8″ these are to reinforce the base.
Next cut 4 pages, 2 measuring 7 3/4″ x 6 3/4″ and 2 measuring 7 1/2″ x 6 1/2″.
Using A4 cardstock; You will need 6 sheets.
Cut 2 piece measuring 8 1/2″ x 10″. Next use your scraps and cut these at 8 1/2″ x 1 3/8″.
Then on the londside score at 7″ and 8 1/2″.
Next cut 4 pages, 2 measuring 7 3/4″ x 6 3/4″ and 2 measuring 7 1/2″ x 6 1/2″.
Binding your project; This can be done in one of 3 ways, using a Bind it All, a Cinch or book rings.
So get creative and make your own Desktop Flip Style Mini Album.


By popular request this quick tutorial not only shows you step by step how to achieve that faux leather look to your cardstock.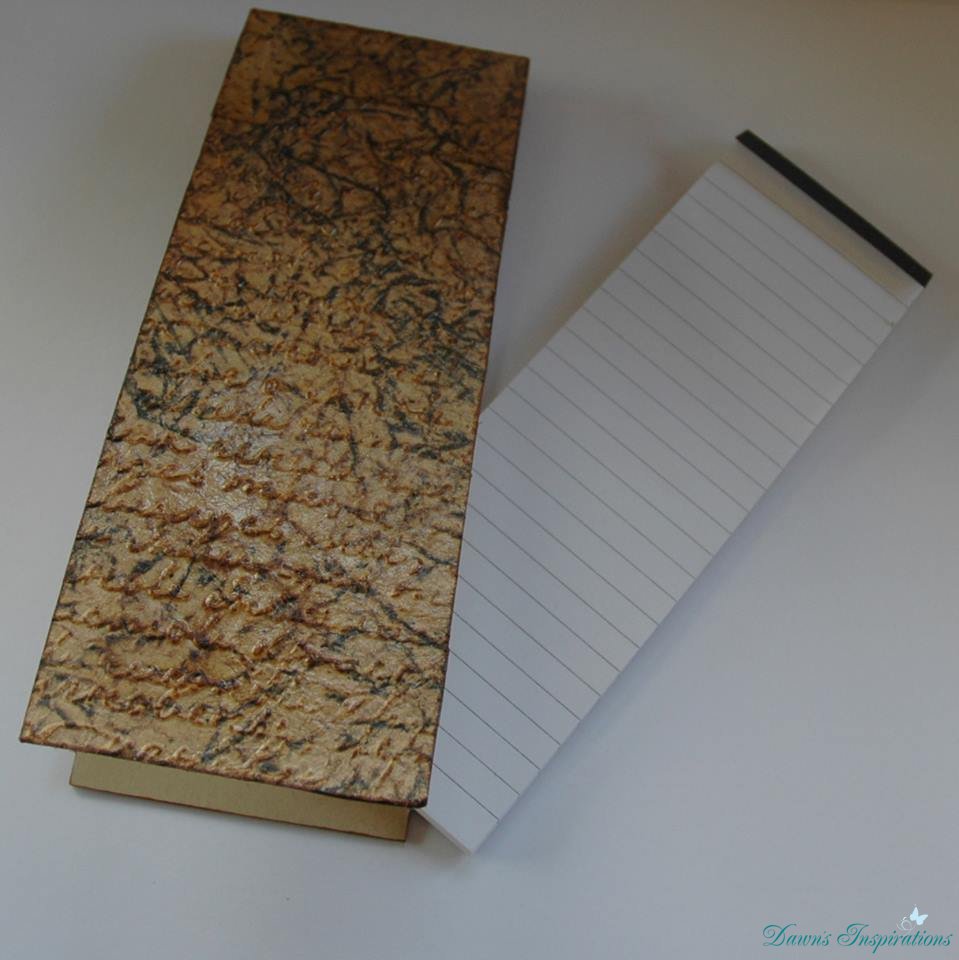
But I also show you how to make a notebook cover.
So it is a cover you can refil and use time and time again.
This make a great gift and you can choose your own colours to give it a really personal look.

I am now a Crafter’s Companion Accredited Demonstor
so come along and join me as I do my first in store Demo Day.
Drop by Downtown Superstore in Grantham UK on
Saturday 3rd May between 10am and 4pm.
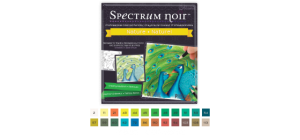
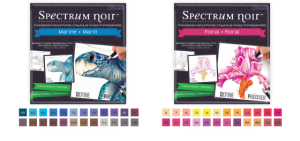
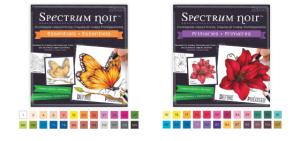
I will be demonstrating The Brand NEW Spectrum Noir Pencils and you will be able to see the how to use them on their own or combined with Spectrum Noir Pens.
The combination of the two togther will bring you colouring to a whole new level!
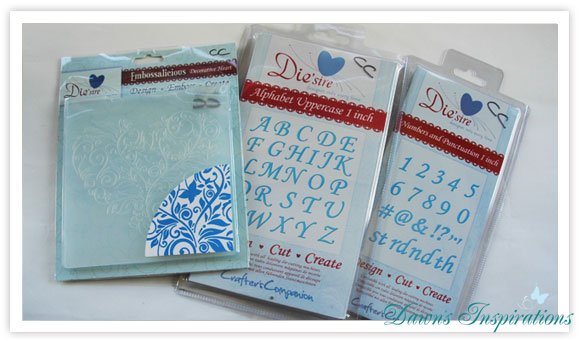
I will be demonstrating the popular Die’sire dies and fabulous Embossalicious embossing folders range, along with the cute Angelica & Adam papercrafting range, the colourful Spectrum Noir alcohol ink markers and the brand new Spectrum Noir blendable pencils!
Special offers will also be available on the day in store so don’t miss out!
Read more: http://ymlp.com/zt5s7x
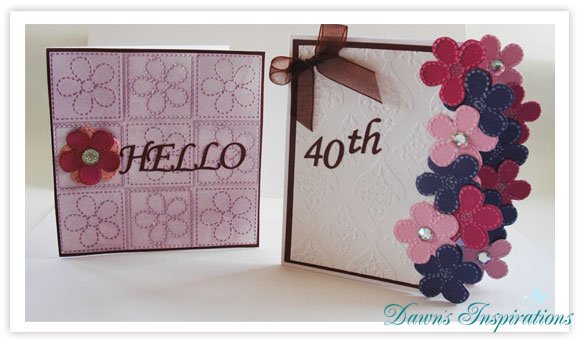
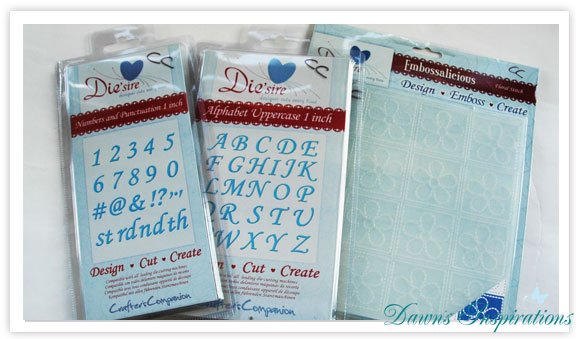
Both these cards have been made using the Die sire Ebossalicious 8×8 Folder in the Floral Stitch design from Crafters Companion.
I have used them for back ground and inked over them and them I have also used them as an embellishment on my cards.
By embossing Co-ordinatations cardstock and sanding it back you get a different affect. Them by fussy cutting out the flowers you can then arrange them and use them as embellishments.
Just add some matting and layering and extra ribbons and bring you have a great card using very few materials.
I have then personalised these cards using the Die sire Alphabet Dies.
So go on have a go and use you embossing folders in a different way.
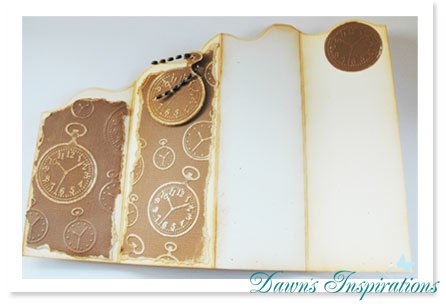
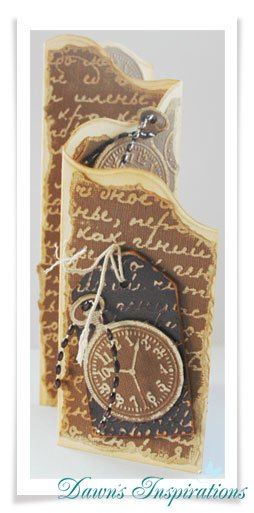 Using embossing folders and my Ultimate Pro I have given a vintage look to this concertina card making it ideal as a man’s card.
Making the card on my Ultimate Pro was easy then using 2 Die sire Embossalious Embossing Folders completed the look.
I used the 8×8 Stitch in Time and the A4 Gothic Script. By tearing the edges and sanding back you see the coloured core of the core-dinations cardstock. Also fussying cutting elements for these papers also gives you your embellishments.
I have use pearls on a string for the watch chains and coloured thes to match with my Spectrum Noir Pens.
So look at you emossing folders in a differnt way and make quick and simple cards to fit any occassion.
 I will show you not only how to make you own slider cards but also how you can make a Slider Mini Album too.
a C6 envelope is roughly 6.4″ x 4.5″ so to make a slider card to fit in this size envelope you will need to cut your card stock 8 1/2 “x 6 1/2″.
On the short side score this at 6″ the quarter turn and on the long side score this at 4″ & 8”.
Cut another piece of card measuring 3 3/4″ x 5 1/2″ this is be the slider. You will also need a lengh of ribbon roughly 24″long and patterned paper to decorate.
Now watch the video tutorial and craft along with me to make your slider card.
You will need 4 sheets of 12×12 cardsock, a 6×6 paper pad collection, an empty cereal box for the cover, acrylic paint ribbon and embellishments.
Put 1 sheet of 12×12 cardstock on your scoreboard and score at 5 3/4″ and 6 1/4″.
Do a quarter turn and score at 1/2″ to the scecond score line only.
Then do a half turn and score at 1/2″ to the second score line only.
Flip your paper over and score at 5 3/4″ to the first score line.
Do a half turn and score at 5 3/4″ to the first score line.
Then watch the video tutorial to cut the cardstock so you can get 2 pages from 1 sheet of 12×12 cardstock.
Follow the rest of the video tutorials and craft along with me to make this great Slider Mini Album
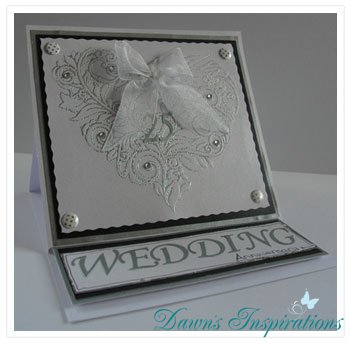
I have made this easel card using Crafters Companions new Die sire Embossing folders and dies.
Using the Decorative Heart embossing folder I smeared the emboss side with Versa Magic Ink Pad, inserted my Centura Pearl Cardstock and put in through the Ebosser.
As soon as it had gone through I the wiped the access ink from around the heart in the card and also wiped my folder clean.
Next I sprinkled silver embossing powder over the heart on the card and using a heat gun I embossed the heart to give a ghost like effect.
Making an easel card in the usual way I matted and layer the heart onto the main body of the card. Using the Die sire Alphabet and Numbers I cut out the letter and numbers for the card to give it that personal touch, in this case I have made the card into a Silver Wedding Anniversary card.
By adding a few embellishments from my crafty stash finishes the card off ready to give away.
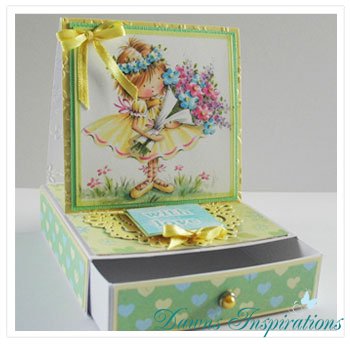 This will take your normal easel cards that one step further by adding a slider draw which I made on my Ultimate Pro. You can make the slider draw any size you wish and then make you card to fit.
This makes a card and gift box in one, giving you a keepsake gift that will be used every day.
I am sure any little girl would love to receive this beautiful project.
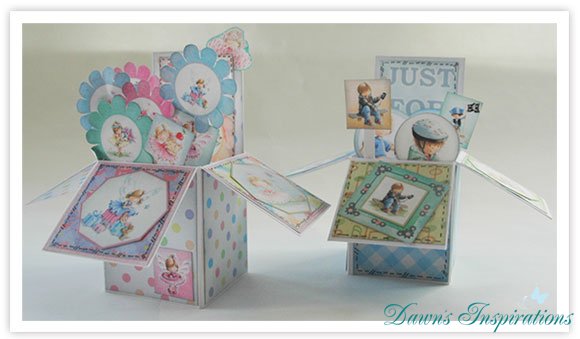
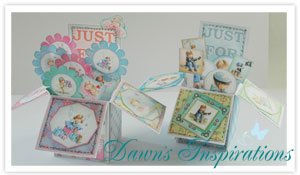
Here are a couple of pop up box cards I have made using Crafters Companion new Angelica & Adam range.
I made my pop up cards using the Crafters Companion Ultimate Pro and there is a video tutorial on how to make these cards.
Elements I have used to make these cards are the Angelica & Adam 6×6 paper pads, embossing folders and stamps and free downloads. All these products are available from the Crafters Companion website.


Here is Style 5 in my File Folder Mini Series. With my step by step video tutorial you can craft along with me to make this beautiful mini album.
Again all I have used is an office foolscap file folder, a couple of photo mats cut from some kraft card stock and patterned papers that came FREE with Scrapbook Magazine Issue 78, so with the use of a very few materials you to can make a quick and easy mini album to house lots of photos and memorabilia.
With you file folder in the folded position cut this down to measure 13″.
On the long side score this at 3 1/2″ then 9 1/2″ next butt the 9 1/2″ score line to the edge and score again at 6″.
On the short side score at 4 1/4″ and 4 3/8″ then at 8 5/8″ and 8 6/8″.
Watch the video tutorial and craft along with me to make this File Folder Mini Album.
For magnets I used a company based here in the UK “First4magnets” and got size 10mm diameter x 1mm thick.
So go on, dust off your file folders and make a mini scrapbook album!