Dawn's Inspirations

  • Shop
  • Cart
  • Account
You Are Here: Home > Archives for 2014

Archives for 2014

Concertina Card

concertina-01
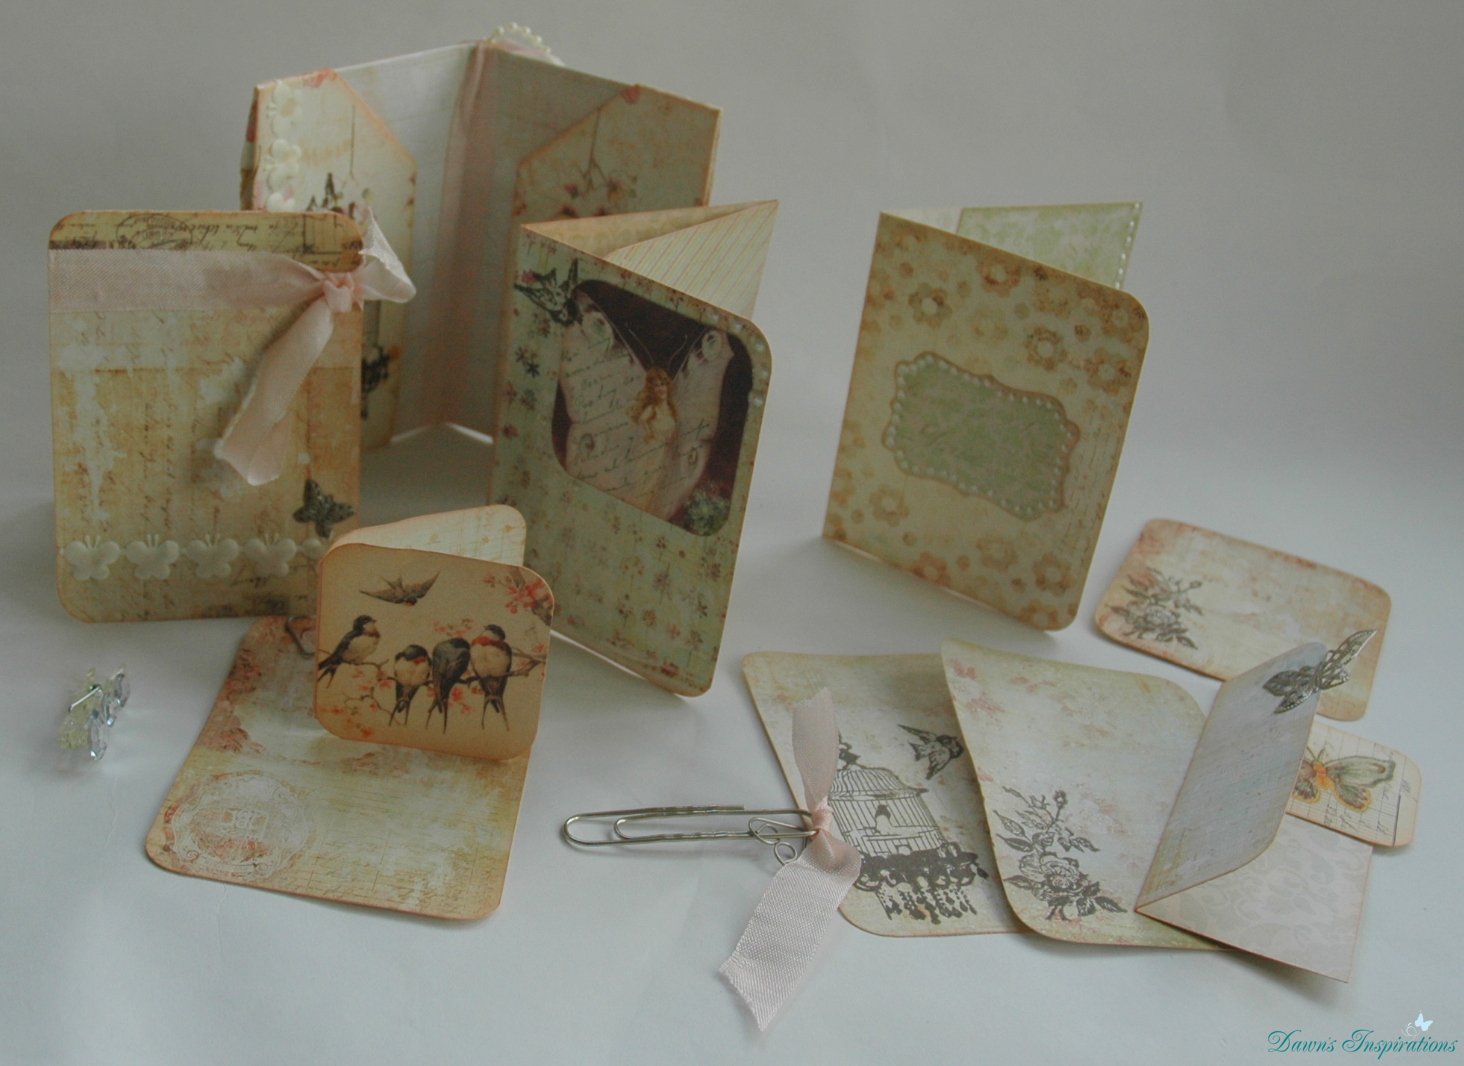
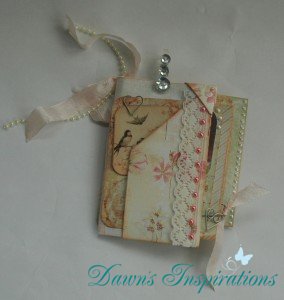
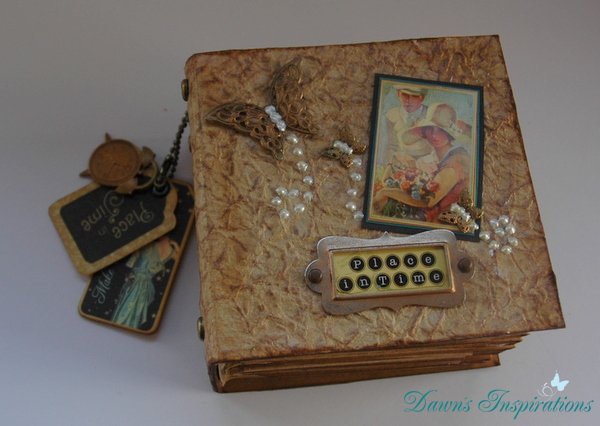
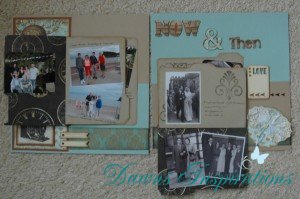
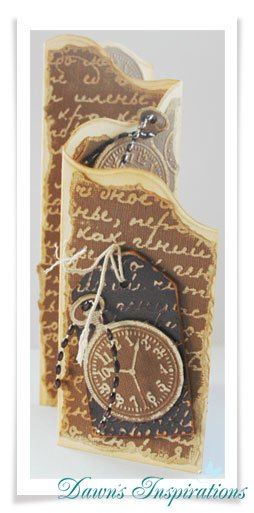
Using embossing folders and my Ultimate Pro I have given a vintage look to this concertina card making it ideal as a man’s card.

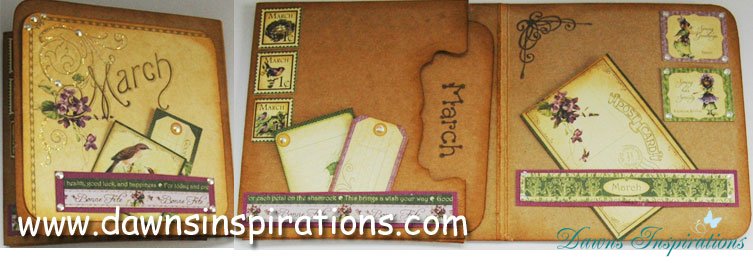
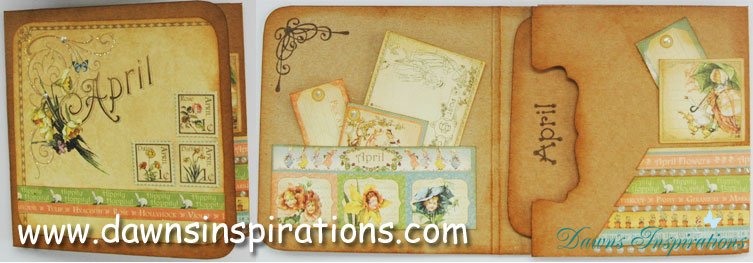
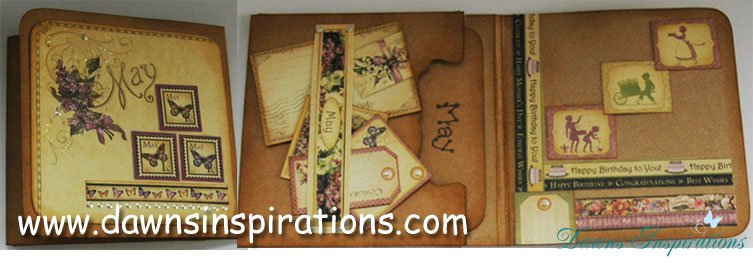
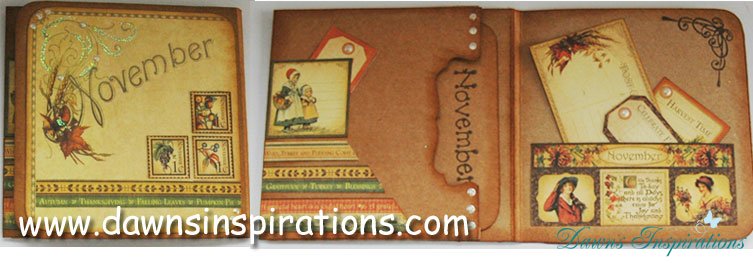
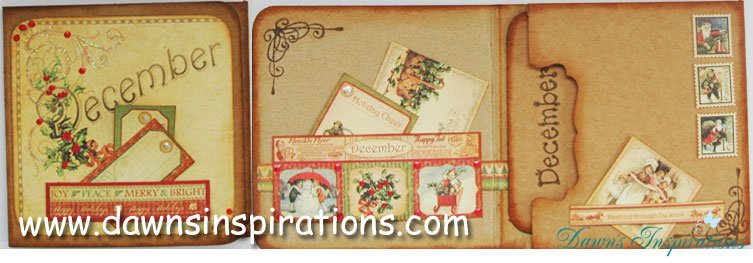
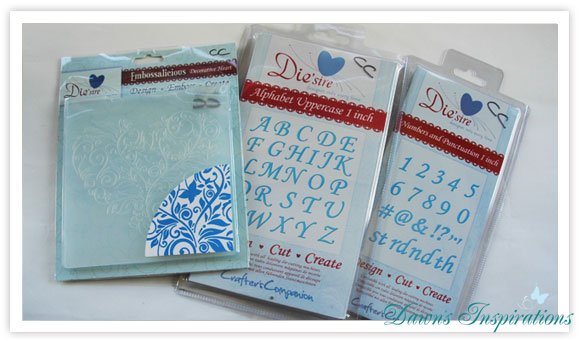
Making the card on my Ultimate Pro was easy then using 2 Die sire Embossalious Embossing Folders completed the look.

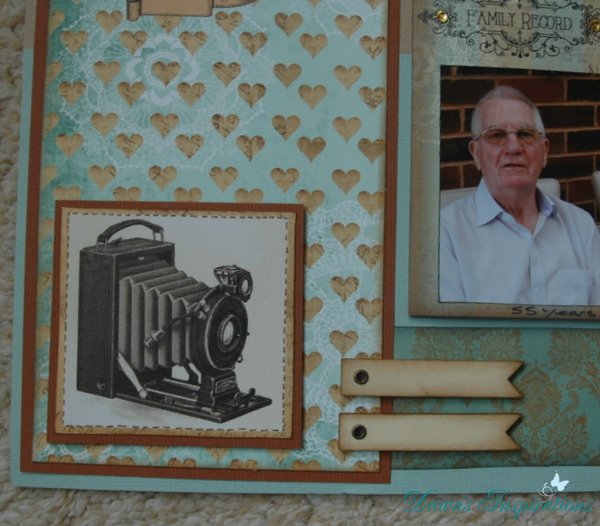
I used the 8×8 Stitch in Time and the A4 Gothic Script. By tearing the edges and sanding back you see the coloured core of the core-dinations cardstock. Also fussying cutting elements for these papers also gives you  your embellishments.

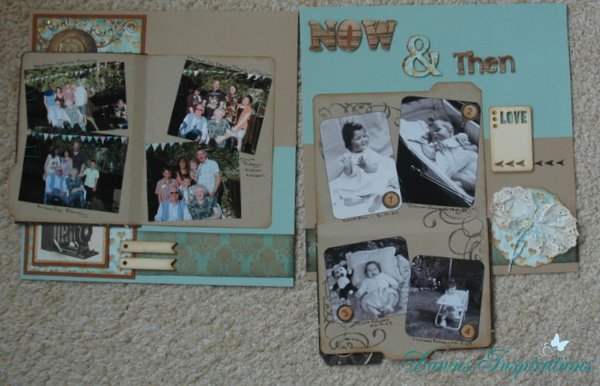
I have use pearls on a string for the watch chains and coloured thes to match with my Spectrum Noir Pens.

So look at you emossing folders in a differnt way and make quick and simple cards to fit any occassion.

concertina-02

Filed Under: Tips and Techniques

Slider Card and Slider Mini AlbumTutorial

slider-main-image-01
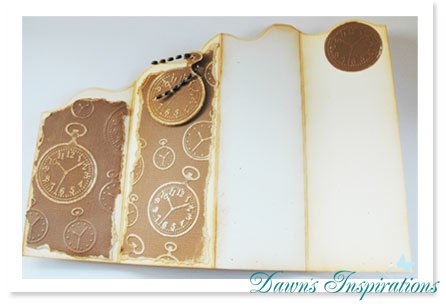
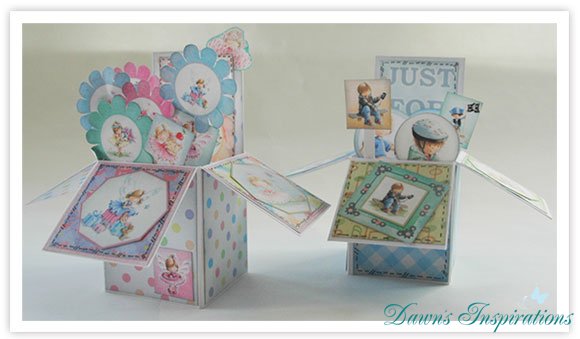
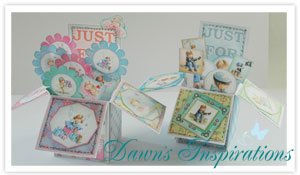
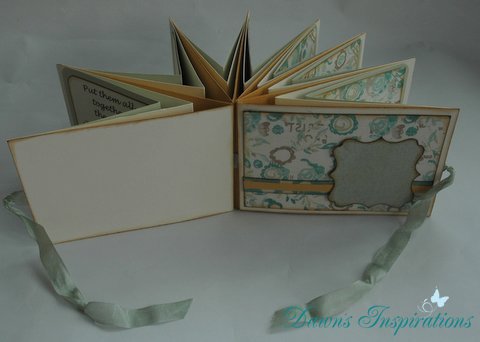
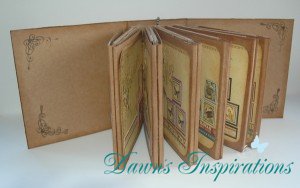
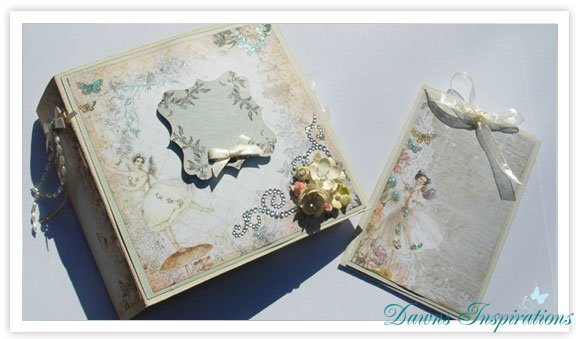
I will show you not only how to make you own slider cards but also how you can make a Slider Mini Album too.

To make a Slider Card to fit in a C6 envelope.

a C6 envelope is roughly 6.4″ x 4.5″ so to make a slider card to fit in this size envelope you will need to cut your card stock 8 1/2 “x 6 1/2″.

On the short side score this at 6″ the quarter turn and on the long side score this at 4″ & 8”.

Cut another piece of card measuring 3 3/4″ x 5 1/2″  this is be the slider. You will also need a lengh of ribbon roughly 24″long and patterned paper to decorate.

Now watch the video tutorial and craft along with me to make your slider card.
slider-main-image-02

To Make your Slider Mini Album.

You will need 4 sheets of 12×12 cardsock, a 6×6 paper pad collection, an empty cereal box for the cover, acrylic paint ribbon and embellishments.

Put 1 sheet of 12×12 cardstock on your scoreboard and score at 5 3/4″ and 6 1/4″.

Do a quarter turn and score at 1/2″ to the scecond score line only.

Then do a half turn and score at 1/2″ to the second score line only.

Flip your paper over and score at 5 3/4″ to the first score line.

Do a half turn and score at 5 3/4″ to the first score line.

Then watch the video tutorial to cut the cardstock so you can get 2 pages from 1 sheet of 12×12 cardstock.

Follow the rest of the video tutorials and craft along with me to make this great Slider Mini Album
slider-main-image-03

Filed Under: Free Tutorials

Heart Easel Card

heart-01

I have made this easel card using Crafters Companions new Die sire Embossing folders and dies.

Using the Decorative Heart embossing folder I smeared the emboss side with Versa Magic Ink Pad, inserted my Centura Pearl Cardstock and put in through the Ebosser.

As soon as it had gone through I the wiped the access ink from around the heart in the card and also wiped my folder clean.

Next I sprinkled silver embossing powder over the heart on the  card and using a heat gun I embossed the heart to give a ghost like effect.

Making an easel card in the usual way I matted and layer the heart onto the main body of the card. Using the Die sire Alphabet and Numbers I cut out the letter and numbers for the card to give it that personal touch, in this case I have made the card into a Silver Wedding Anniversary card.

By adding a few embellishments from my crafty stash finishes the card off ready to give away.

heart-02

Filed Under: Tips and Techniques

Angelica Easel Gift Draw

cards-05
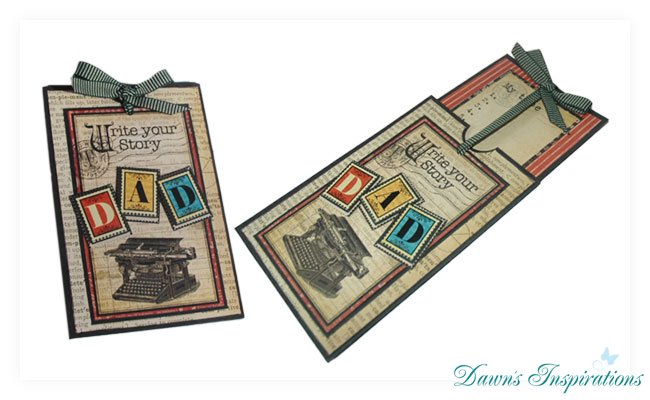
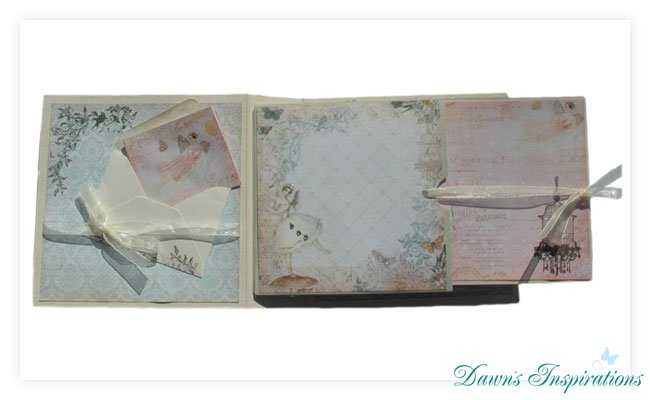
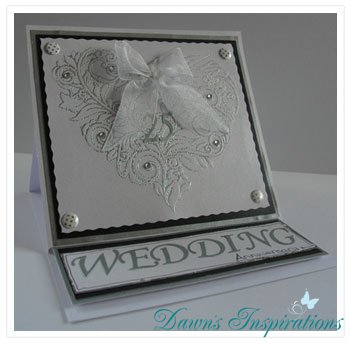
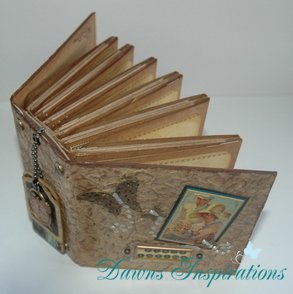
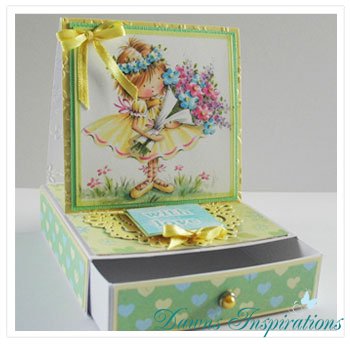
This will take your normal easel cards that one step further by adding a slider draw which I made on my Ultimate Pro. You can make the slider draw any size you wish and then make you card to fit.

This makes a card and gift box in one, giving you a keepsake gift that will be used every day.

I am sure any little girl would love to receive this beautiful project.

Filed Under: Tips and Techniques

Angelica & Adam Pop Up Box Cards

cards-01

Here are a couple of pop up box cards I have made using Crafters Companion new Angelica & Adam range.

I made my pop up cards using the Crafters Companion Ultimate Pro and there is a video tutorial on how to make these cards.

Elements I have used to make these cards are the Angelica & Adam 6×6 paper pads, embossing folders and stamps and free downloads. All these products are available from the Crafters Companion website.
cards-02cards-03
cards-04

Filed Under: Tips and Techniques

Style 5 File Folder Mini Album Tutorial

Here is Style 5 in my File Folder Mini Series. With my step by step video tutorial you can craft along with me to make this beautiful mini album.
DSC_0057

Again all I have used is an office foolscap file folder, a couple of photo mats cut from some kraft card stock and  patterned papers that came FREE with Scrapbook Magazine Issue 78, so with the use of a very few materials you to can make a quick and easy mini album to house lots of photos and memorabilia.

With you file folder in the folded position cut this down to measure 13″.

On the long side score this at 3 1/2″ then 9 1/2″ next butt the 9 1/2″ score line to the edge and score again at 6″.

On the short side score at 4 1/4″ and 4 3/8″ then at 8 5/8″ and 8 6/8″.

Watch the video tutorial and craft along with me to make this File Folder Mini Album.

For magnets I used a company based here in the UK “First4magnets” and got size 10mm diameter x 1mm thick.

So go on, dust off your file folders and make a mini scrapbook album!

Filed Under: Free Tutorials

Prima Wallet Pocket Mini


DSC_0097-001


This is a project I filmed as a tutorial last year after a workshop I did with the MDF Man.

Jodie Lee one of the paper designs from Prima then use this mini in one of the Ustream live videos and thanked me for sharing so I thought I would share it again with you.

I was so pleased that she had not only been watching my video tutorials but that she had choosen to use this mini albums for her live Ustream tutorial to showcase her latest Princess Paper Collection.

Many of you have been in touch after seeing her video with such lovely comments so I decided to re film it using Jodie Lee Princess Collection.

I used one sheet of the Lily Paper for the main wallet and one sheet of Mia and some of Collage for the tags and booklets.

You can see my video tutorial so you to can make this beautiful Wallet Pocket Mini. This great little wallet uses no adhesive and very few materials so a great project. Go on why not have a go at making your own and revisit one of my favorites.

DSC_0086-001

Here is the link to my original https://www.youtube.com/watch?v=CJBF8…

here is the link to Jodie Lee Ustream video https://www.youtube.com/watch?v=ofXaK…

Filed Under: Free Tutorials

Star Mini Book Tutorial

This Star Mini Book makes a great Mothering Sunday Gift. A star to give the person who is a “star in your life!”

Star Mini Book

You can make it as personal as you like too, with sayings, drawnings from the children and photographs too.
Star Mini Book

An idea size to keep in a a handbag as a brag book to share and once open can be displayed to share too.

Star Mini Book

Star Mini Book

However, this little mini Book does not have to only be for Mother’s Day as it can fit many different occassions, Christmas, Birthdays, Weddings, Just beacuse!, Teacher gifts to name but a few.

So go ahead sort out your crafty stash and make this quick and simply mini.

Star Mini Book

Supplies you will need to make this quick and easy projects are,
7 pieces of cardstock 4” x 12”
7 pieces of cardstock 4” x 10”
7 pieces of cardstock 4” x 8”
2 pieces of cardstock 4” x 6”
Photo mats cut 7 or 14 (your choice on how you are decoration the book) 3 ¾ “x 3 ¾” out of patterned paper.
24″ ribbon.

If you would like to use the Mother Verse to add to your album the PDF is here:

pdficon_large

pdficon_large

Filed Under: Free Tutorials

Graphic45 Place in Time Mini Birthday Book TUTORIAL

My Graphic45 Place in Time Mini Birthday Book Tutorial is now live.

Using a Graphic45 Place in Time 6×6 paper pad that came free with issue 118 of Simply Cards and Papercrafts along with some kraft cards I have made this beautiful Mini Birthday Book.

Please note, this video is in a playlist and the next one automatically follows at the end

Here are some images of my page layouts using the papers to there full potential. To see a bigger picture please click on each image.

january
february


march
april


may
june


july
august


september
october


november
december


If you cannot get 8×8 kraft cards you can still craft along with me using some 12×12 kraft cardstock to make your pages. The last video in this playlist is a tutorial on how to do this.

There are the measurements to go with this video.

Cut a strip 4” x 12” then cut a piece of the 12” side so your card now measures 4” x 11 ¼”.

Get this ¾” piece and cut it in half on the short side, then score both these pieces in half again and burnish the fold and set aside.

Now get the 4”x 11 ¼” piece and score on the long side at 3 ½” and 7 ½”.

Then make an extra score line at 1/8”to the left of the 7 ½” score line.

You will need to cut 12 photo/tags for your pockets and these measure 3 ¼” x 3 ¾ ”.

You can now follow the rest of the video tutorials to make up your Place in Time Birthday Book.

Filed Under: Free Tutorials

Graphic45 Place in Time Mini Birthday Book

Well one rainy Sunday I headed of to my craftroom with a project in mind to use a Freebie paper pad I got from Simply Crads & Papercraft Magazine.
DSC_0044


I had this for a few weeks and I knew I wanted to make a mini book but was not sure how to get the most from it. It contain 12 double sided pages however, one side of the paper was the foundation page and the other was the cut a parts to go with that month. But I wanted to use both and I didn’t want to go and buy a second magazine, so this is what I came up with.

DSC_0056 (3)

I have filmed a video tutorial so you too can craft along with me and make this great little project.

I will let you know as soon as it is “live” so please subscribe to my website, YouTube Channel or Facebook Page and you will be one of the first to know so you too can make your own Place in Time Mini Birthday Book.
DSC_0054-001
DSC_0051 (3)-001


Filed Under: Free Tutorials

Edwinstowe Scrappers March Kit

Here are some images of the sample double page layout I have done using our March Club Kit. I have really enjoyed using this kit, the colours lend themselves to most photos which made it an easy kit to use. Using lots of embellishments adds interest to the page, along with lots of interaction from the file folders flaps meaning you can house even more photos.
March Kit Double page layout

Interactive file folders on this layout

I have made this scrapbook layout into an interactive page layout by adding more pages to the file folders.


More interactions from file foldersThe pages of the file folders are held closed with the use of tiny magnets.

I have added 2 extra pages to each file folder front to allow me even more space to add extra photos.

Use lots of mat and layers to create dimension I stuck the wood paper to adhesive paper then cut letters out on the cricutadd lots of interest with embellishmentsI have golssed the elements to make them stand out


As the wood affect paper was very thin I first attached this to an adhesive sheet before cutting out the letters on the Cricut.
I added glossy accents to some elements to give a different affect along with lots of matting and layering to give different dimensions to the layout.
The wood embellishments also add more interest and I have inked the edges of these with distress inks.

Filed Under: Scrapbook Layouts

Sarah’s Cards February Sketch Challenge

Each month Sarahs Cards Blog do a monthly Scrapbooking  Sketch Challenge and here is February’s.

Feb

It is great to play along and do something different and nice when it is someone else setting the challenge.


So here it is this is my take on this months sketch. i have added lots of elements to give the layout dimension and also add interest.


DSC_0072


DSC_0078DSC_0076DSC_0075DSC_0074DSC_0073


I have cut one photo in 3 then matted and layered it and attached it with foam dots to give the layout dimension. By added snowflakes in paper, metal and with stickles to also add interest to the layout.Then using stickles to the title this also adds sparkle and interest. I have added faux stiching to the circle to give another look too.

Filed Under: Scrapbook Layouts

  • « Previous Page
  • 1
  • 2
  • 3
  • 4
  • 5
  • Next Page »
  • My Account

Copyright © 2025 · Dawns Inspirations ·