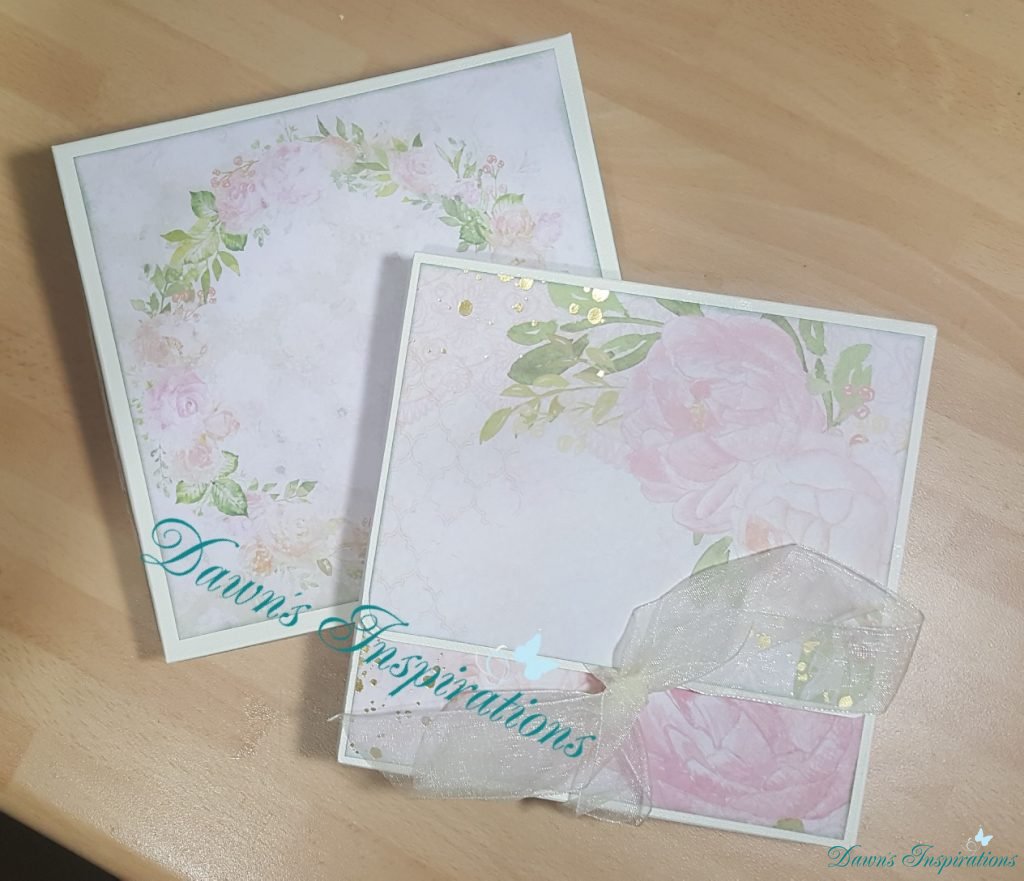
This Mini Brag Wallet in a Box makes a great keepsake gift to give or just perfect for putting all photos into from one event.

Presentation Box
Box Base cut a square 7 ¾” x 7 ¾” and score in ¾” on all four 4 sides.
Box Lid cut a square 7 7/8” x 7 7/8” and score in ¾” on all four sides
Papers for lid cut one at 6”x 6” and cut 4 at 6” x ¾”
Paper for the Bottom Base 6” x 6”
Brag Wallet
Main Back – Take 12”x 12” Score on at 2 ½” and 3” on all four sides
Top Flap – Cut 6”x 4 ½” and stick to the top.
Bottom Flap – Cut 6”x 6” and stick to the bottom.
Right Side – Cut 11” x 6” and score at 6” and stick to right hand side.
Left Sided – Cut 12” x 6” and score at 6” and 10” and don’t stick it down yet. Cut 2 photo mats one at 5” x 5” and the other at 3 ¼” x 5”.
Main Back – Cut 4 pieces at 5 ½” x 4” and score ½” on one long side on each one to create a waterfall element to the back page.
Patterned Papers
Back – Cut 1 at 5 ¾”x 5 ¾”
Top Flap – Cut 2 at 5 ¾” x 4 ¼”
Bottom Flap – Cut 2 at 5 ¾” x 5 ¾”
Middle –Cut 1 at 5 ¾” x 5 ¾”
Waterfall – Cut 8 at 5 ¼” x 3 ¼”
Right Side – Cut 2 at 5 ¾” x 5 ¾” and Cut 2 at 4 ¾” x 5 ¾”
Left Side – Cut 1 at 5 ¾” x 5 ¾” for the back of the left side page.
Plus cut another at 5 ¾” then trim it to 2 ¼” for the front inside pocket. The remainder goes on inside pocket and glue to make a pocket.
Cut 1 at 3 ¾” x 5 ¾” for the inside flap.
Cut 1 at 5 ¾ x 4 ¼”” and then trim to 1 ¾” stick to the front pocket. Then stick the 2 ½” and stick to inside pocket.
Cut 2 at 4 ¾” x 4 ¾” to cover one photo mat.
Cut 2 at 3” x 4 ¾” to cover the other photo mat.
Cut out an envelope and make a little Photo/Journal book to go into your envelope.
Cut 2 slip pockets and 2 tags to go inside the pockets.

I love this quick project. Thank you.
Oh I so enjoy your tutorials. This mini album is amazing. I do have a question… I now order all my papers from Crafter’s Companion (A4), how can I adjust the measurements? Or do you have another tutorial for a mini using the CC A4 card? Thanks.
Hi Brenda I dont have a Tutorial for this using A4 Cardstock as with the measurements I have used you would have a lot of wasted card stock. You can get 12 x 12 cardstock very easily from the internet and am sure you will be making a few!
Hi Dawn, thank you so much for your reply. Since then I’ve ordered the larger size paper from CC and it is really great for making my boxes and box envelopes. I knew when I saw this project I had a person in mind. Our Pastor’s appreciation is coming up soon. So my first will be for him and his wife. I’m hoping Sara’s Signature Collection Garden of Love is suitable, although I do have the Vintage Collection as well and I also have a pad that I will be really nice, which is CC Vintage Florals. Again, thank you so much for the wonderful tutorials.
Hi Dawn…I will be making one of these soon..they are so simple to make.. thank you for sharing and inspiring. I love to make anything 3d… await another of your makes…love your ideas and work..xx
made this project along with the video, it was so easy (i have only started doing mini albums) Thank you so much for all the tips and how too’s when i don’t have the die cuts and other bits and bobs that the more seasoned scrapper has. Accessing the beautiful paper collections you use can be quite difficult in New Zealand so often have to look for something similar, if only in colour. thank you so much for you patience it is so appreciated.
Thank you so much for this lovely tutorial and the use of Sara’s papers. Your an inspiration to many.