To get your FREE Cutting & Scoring Guide for both the 7″ x 7″ and the 10″ x 10″ size Insert Folders for the Large Pockets of my 8″ and 12″ Folios use the following link to sign up and download the files.
Craft O’Clock Craft O’Long Live with Adam Thursday 28th May
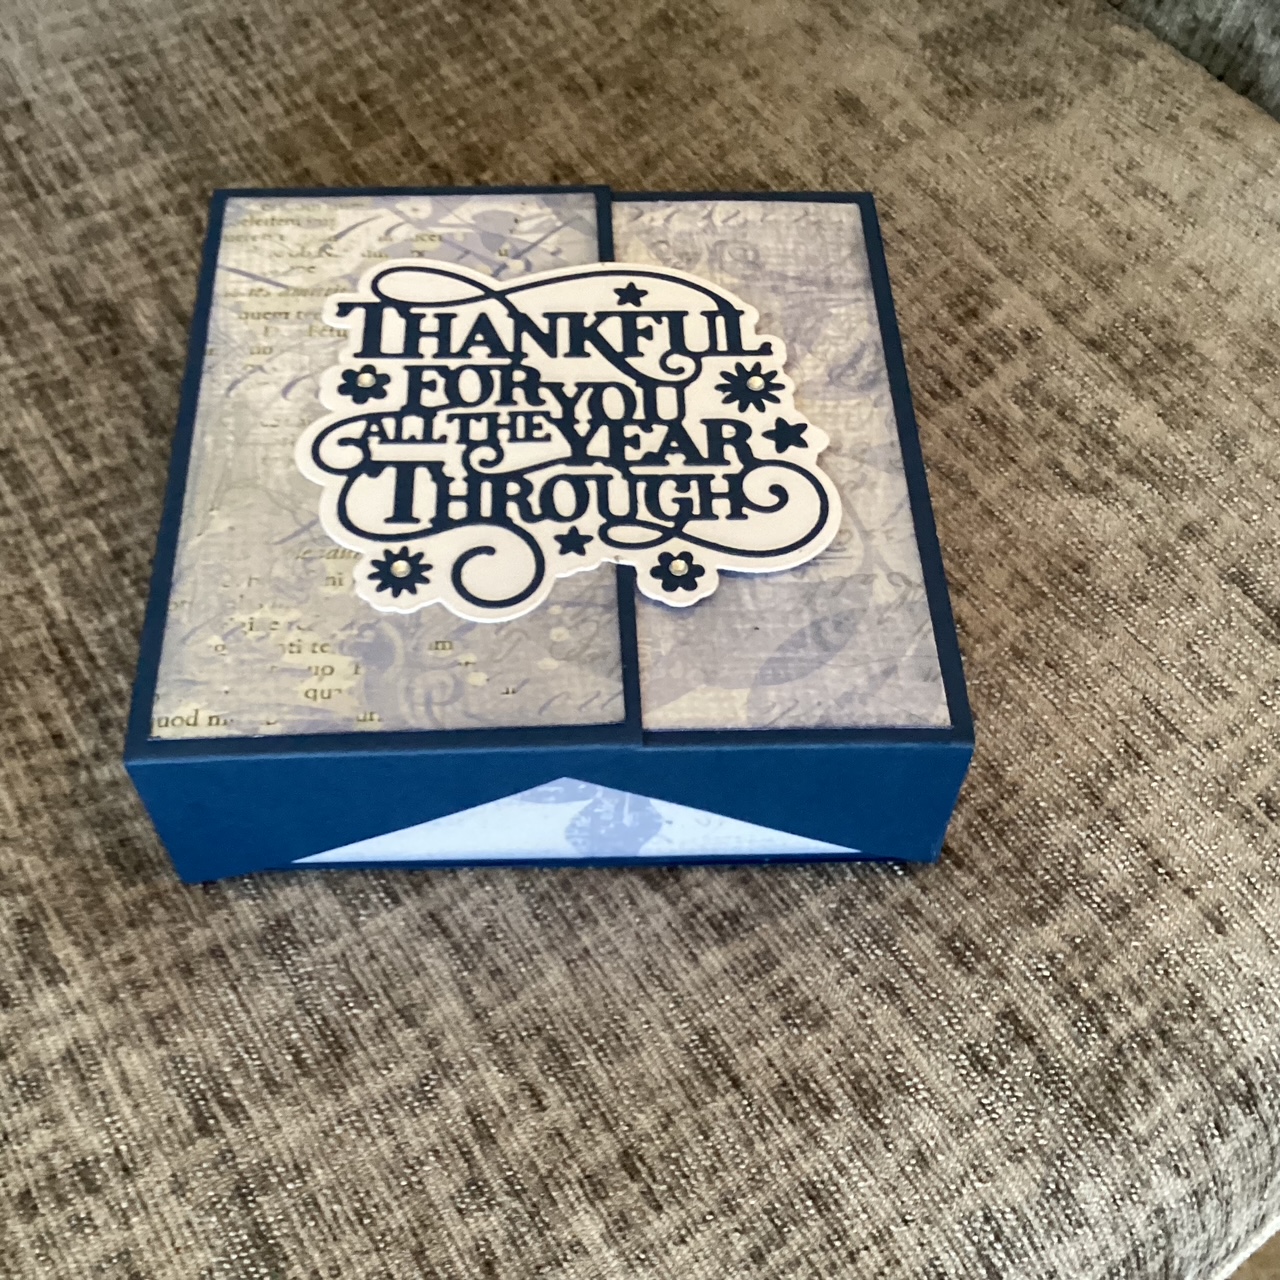
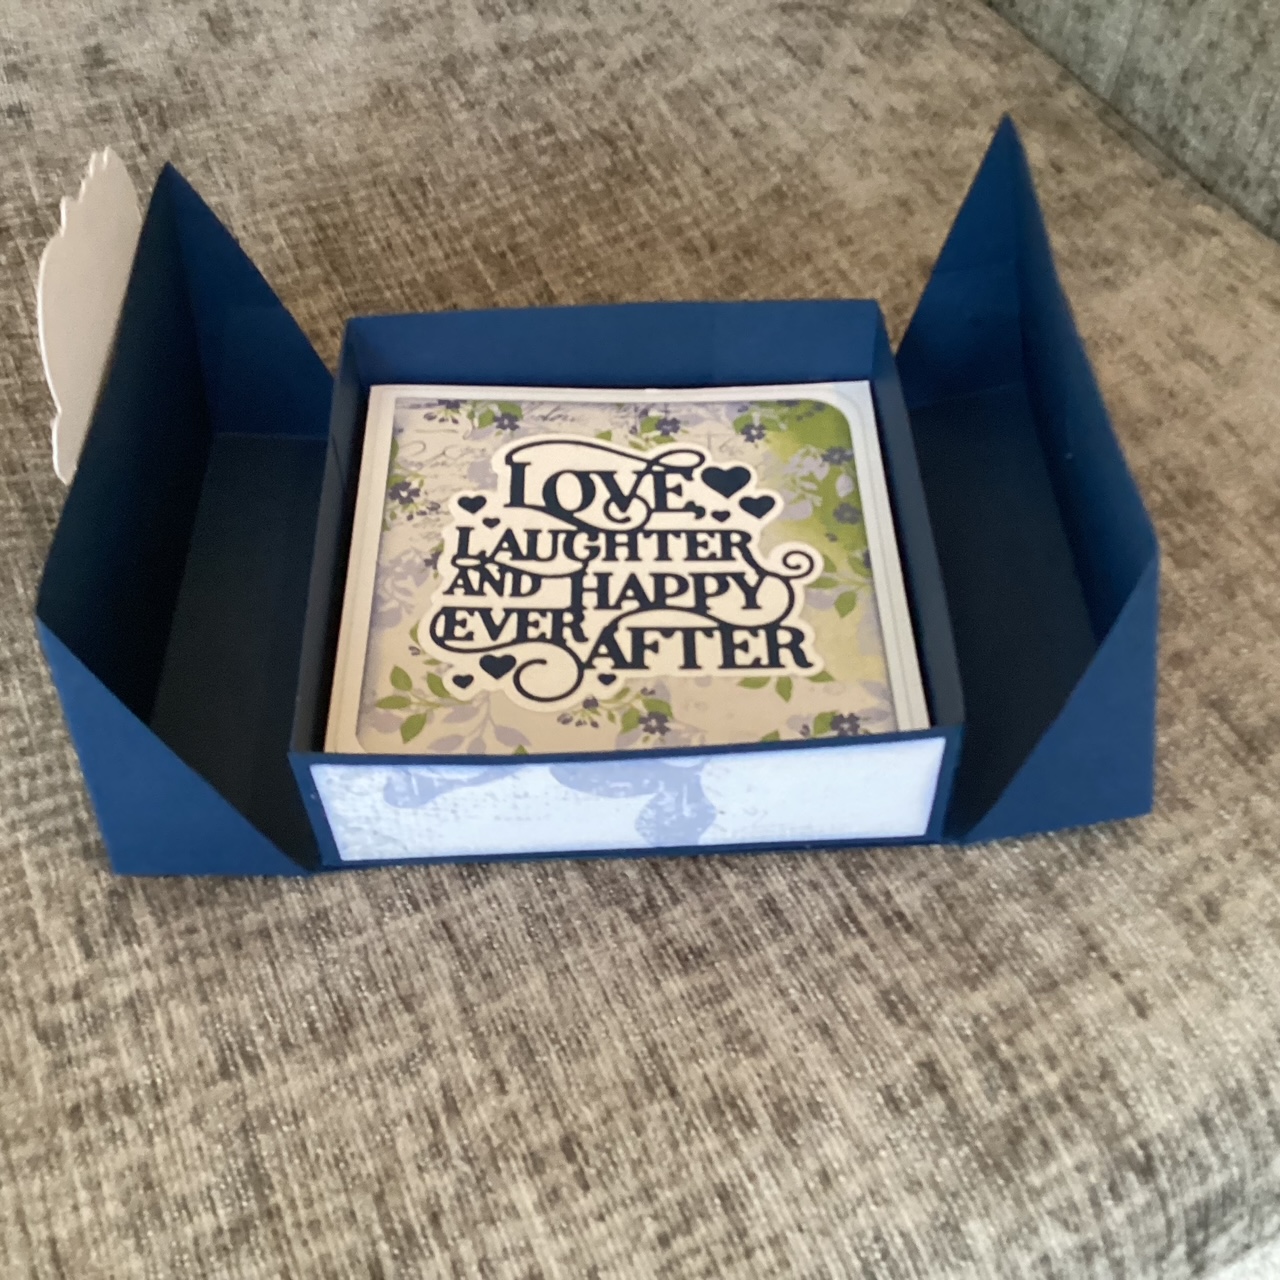
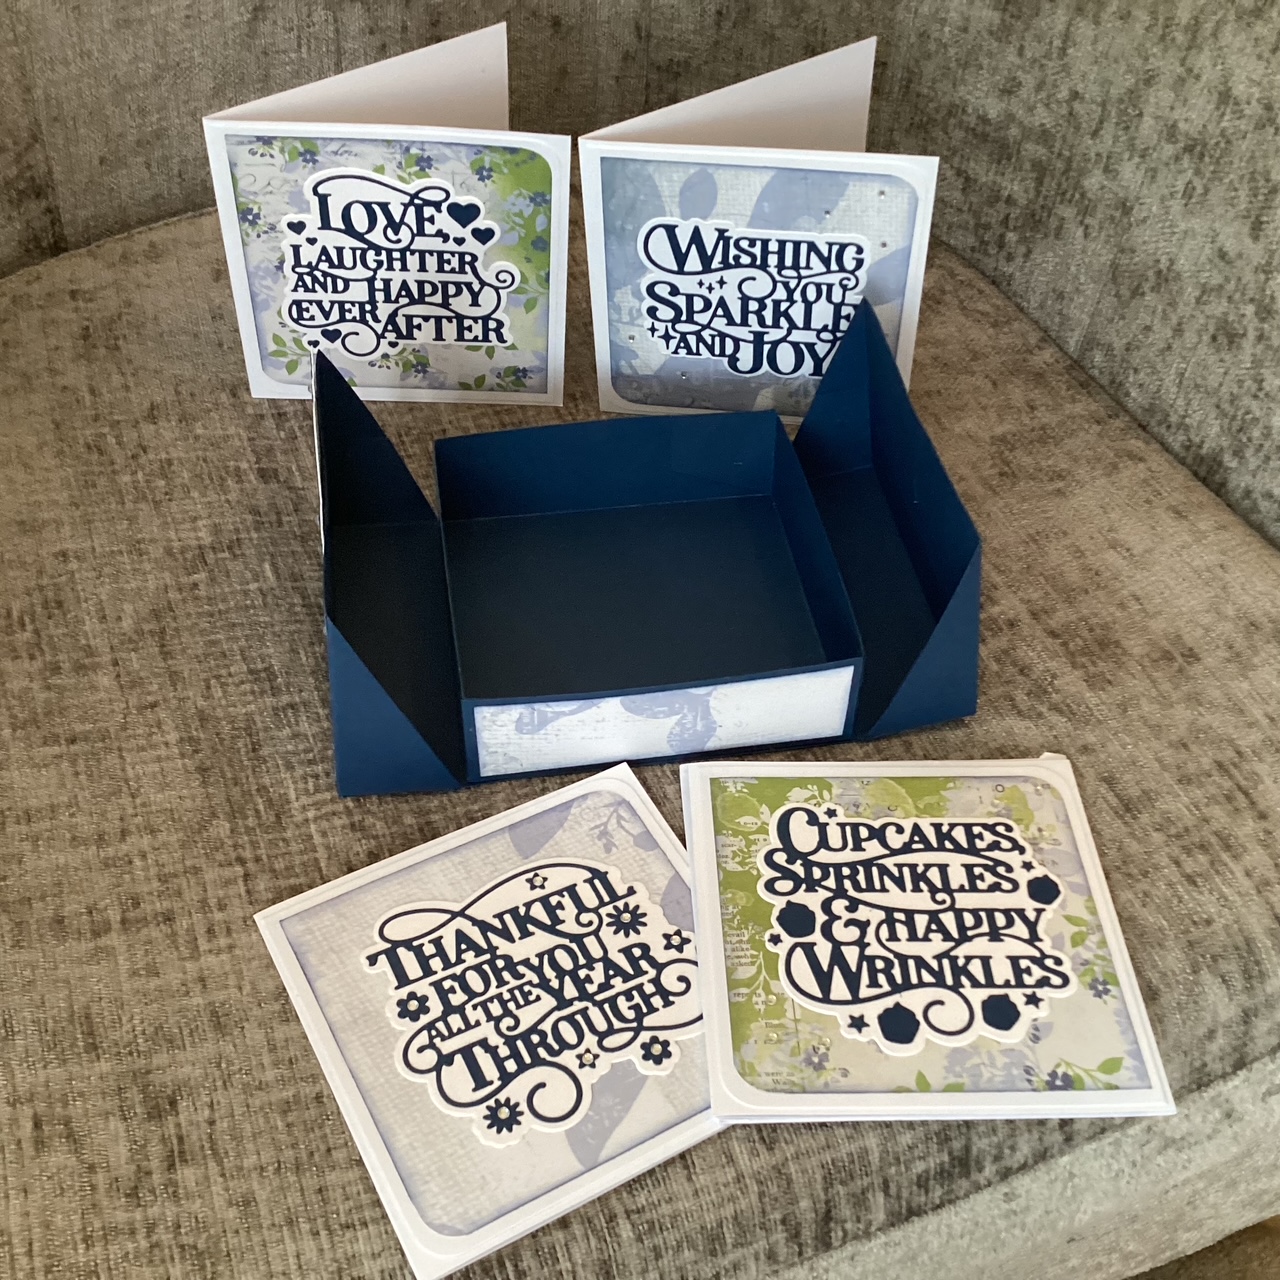
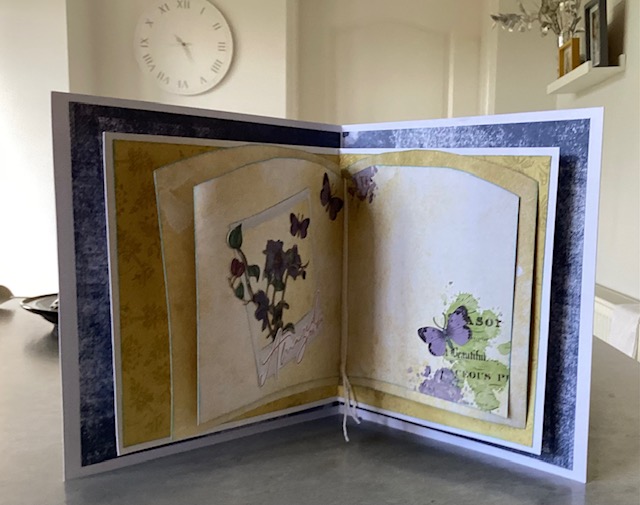
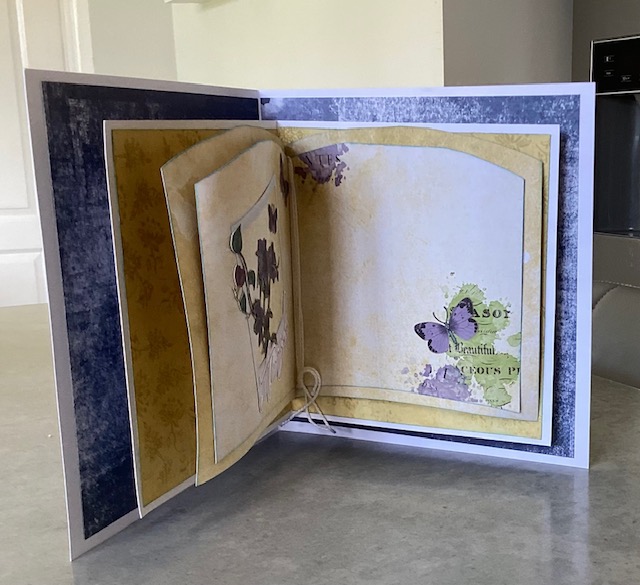
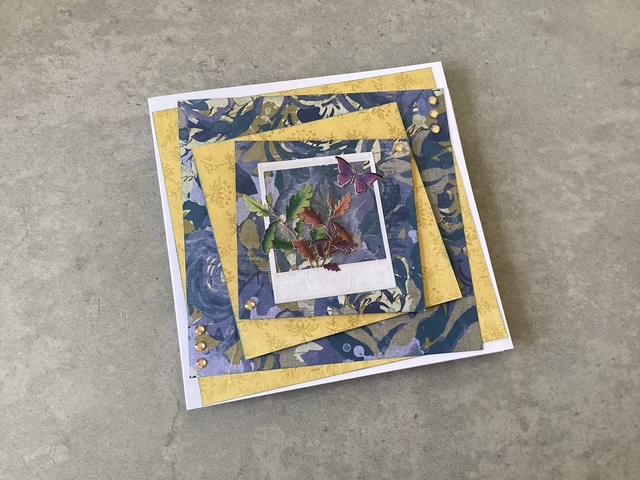
How to create your Inset Folders for my Foto Folios
Here are the 2 videos I created for the 10×10″ insert folder.