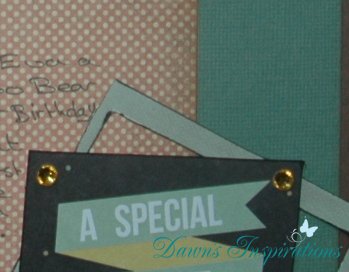
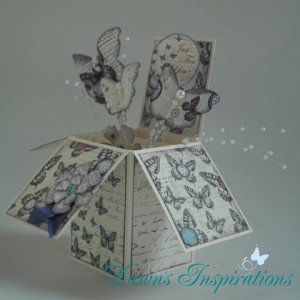
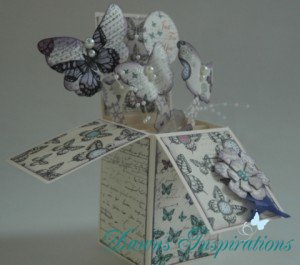
I really enjoyed making this card last night and thought I would share it with you.
It is such a great card as you only need one sheet of A4 cardstock and for the rest you can use bits and bobs from your crafty stash.
I found the idea on Pinterest and it was a video demo by a lady called Monica who is a Stampin Up Demonstrator.
You can make this card to fit so many occassions and there are lots of ideas on the web and pinterest.

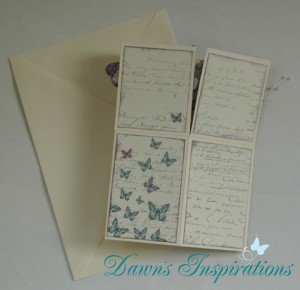
The other great thing is that it lays flat for postage but a beautiful 3D card once the envelope has been opened.
So go on and give it a go a quick card that looks like it has taken ages to make.