Here is the another File Folder Mini Album Tutorial I am calling this Style 2.

Style 2 File Folder Mini Album.
A quick project that can be done in no time and with my step by step help you too can make this beautiful album.
Using a few supplies – 1 office file folder, I sheet 12×12 Kraft card stock, a free paper pack from a craft magazine and some ribbon.
Measurements;
Here is a picture of the measurements and what you file folder should look like before you put it all together.
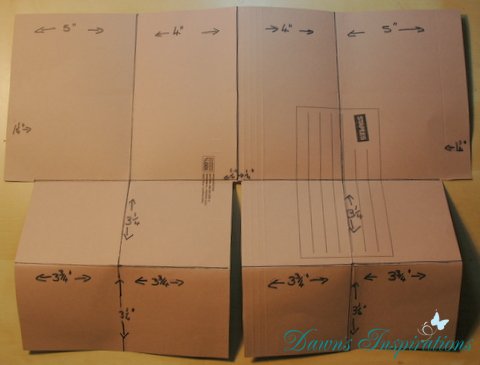
Measurements for Style 2 File Folder Mini Album
Tags 4 3/4″ x 2 3/8″ – Mats for tags 2 1/4″ x 3 3/4″
Photo Mats 6″ x 3 1/2″ – Mats for photo mats 5 3/4″ x 3 1/4″
Patterned Paper Mats for this project using a 6×6 inch paper pad;
Two of 6″ x 4 3/4″
Two of 6″ x 3 3/4″
Four of 3 1/2″ x 3 1/4″
Back and front covers – two 6 1/2″ x 4 3/4″
You can follow the video tutorial to make the rest of the project. Don’t forget if you are not using 6×6 papers you adjust the size of the paper mats behind your pockets.
I do hope you enjoy this project and I would love to know how you get on.
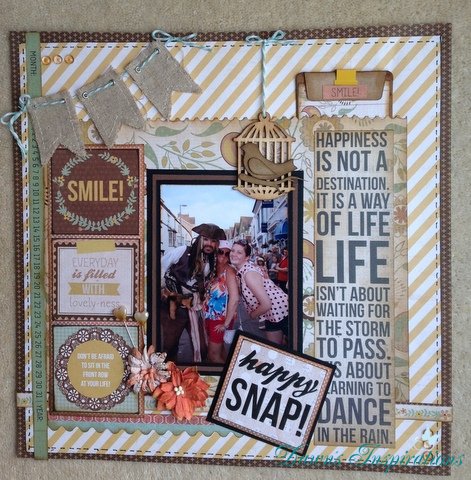
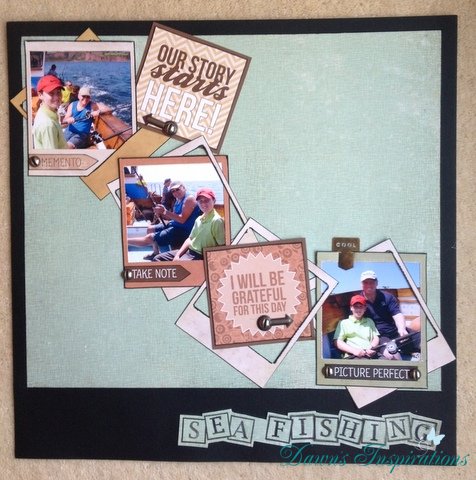
This Mini Scrapbook Album makes a beautiful gift to share with family and friends..