Dawn's Inspirations

  • Shop
  • Account

Archives for February 2015

Distressed Cherish Card

IMG_1527
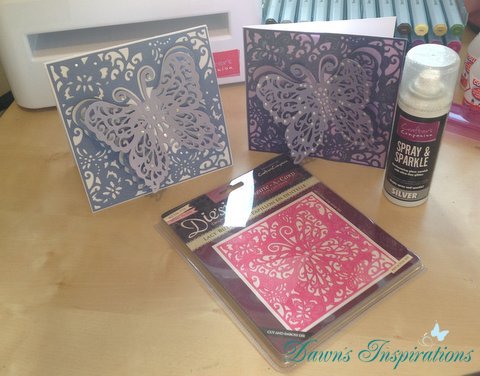
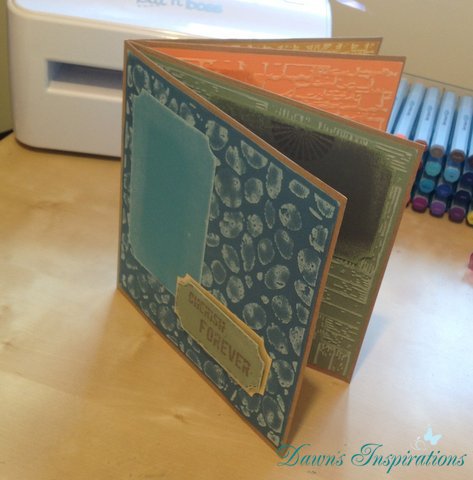
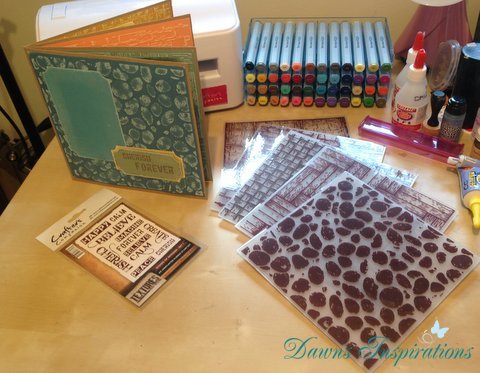
This 8×8 card make a great statement and is made using many of the items from the Crafters Companion Textures range.

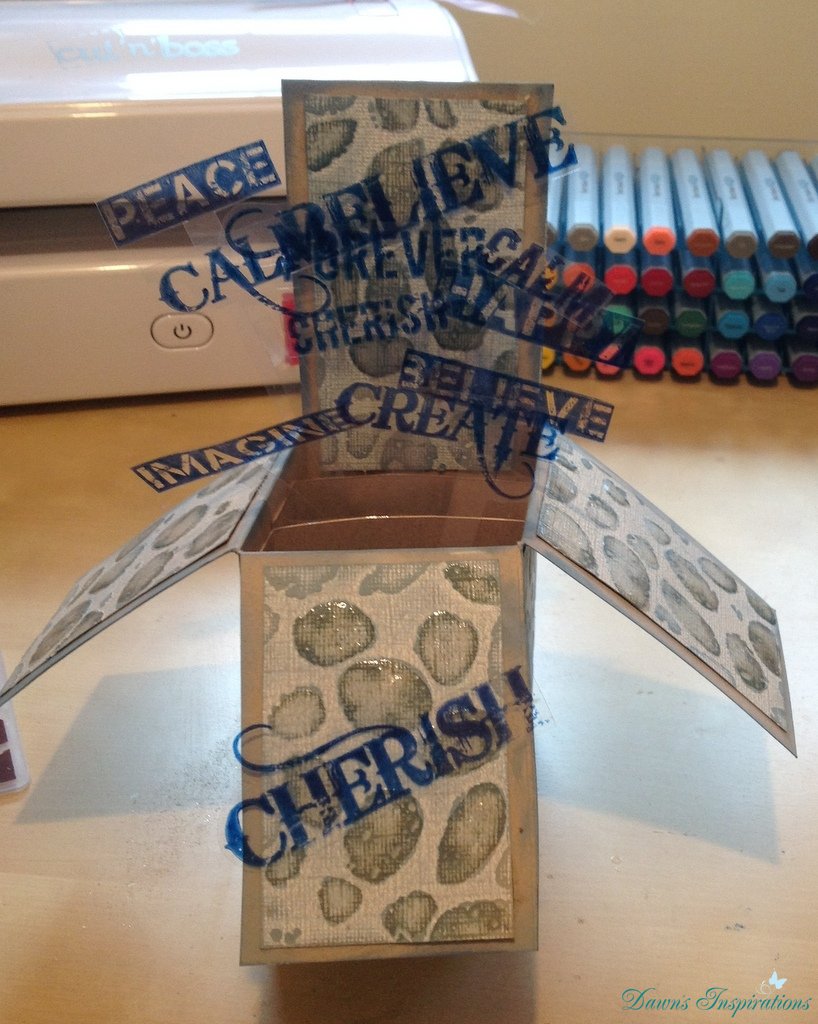
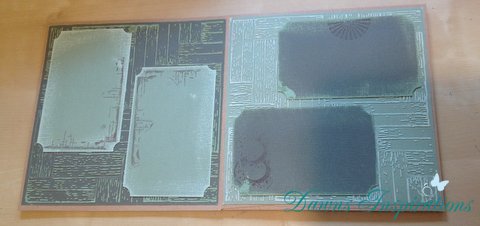
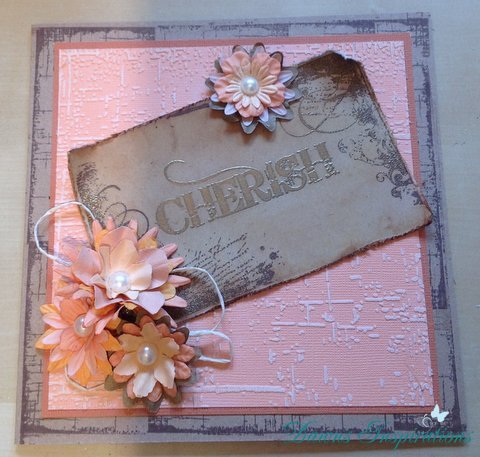
I have stamped around the edge of some kraft card using the Texture stamps and a brown ink pad. Then using a piece of coredinations cardstock cut down to 6×6 I embossed this using the Distress Textures Embossing Folder. I then sanded this using the Sand it Set to give it a more distessed look.

IMG_1526Then on another piece of kraft card I stamped the word Cherish from the Textures Stamps “Words of Wonder” Set 1 and embossed this with gold embossing powder.

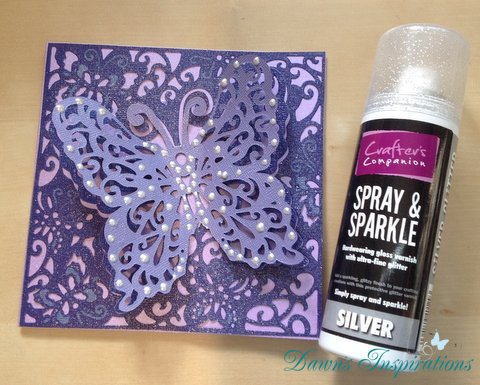
Again I stamped around the edge using some of the Textures Stamps, to give this more dimension I used brown ink and some goldembossing powder. I also distressed the edges of this with a Distressing tool.

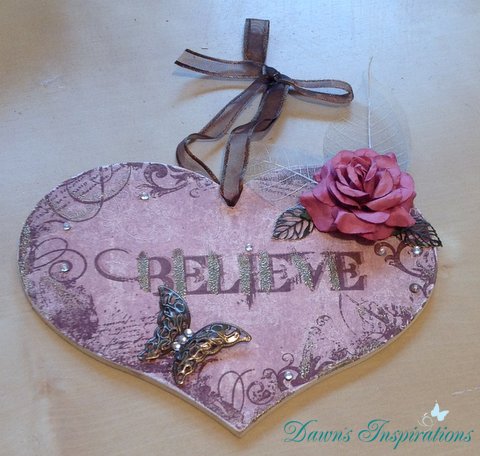
Now I could put the card together layering up all the elements and adding some flowers and string to give it a finishing touch.

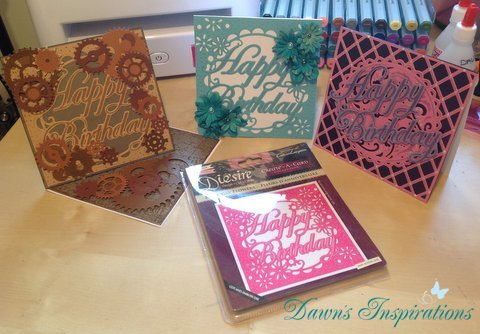
You can make up so many differnt cards using these Textures Embossing Folders and Stamps so go on be creative and have fun!

Filed Under: Tips and Techniques

Inspirational Quotes in a Box Card

IMG_1522Thie Inspirational Quotes Card is perfect to tell someone you are thinking of them or as a Just Because Card, a perfect way to brighten someone day.

The Card in a Box has beem decorated using Crafter’s Companion 8×8 Textures Embossing Folders in Pebbles. Once I had embossed the card stock I then sanded it lightly using the Coredinations Sand It Set. I then lightly inked it with Faded Jeans Distress Ink and a blending tool. Using Glossy Accents I highlighted some of the pebbles to make them stand out and to also give different dimention to the card.

To make the flowing words, I used the Crafter’s Companion Textures Words of Wonder Set 1 stamps. I stamped these onto Heat Resistant Acetate using Staz-On Ink in Midnight Blue and then st this with a heat gun to stop the ink from smugging. Then cut out each word leaving a long stick to attach it to the box. The word Beleive and Cherish are stuck directly onto the cardstock using Collall 3D Glue so you do not see it once it is dry.

By using different colour combinations you can give this card a whole different feel making it perfect for men & women.IMG_1521


Filed Under: Tips and Techniques

MDF Heart Using Texture Stamps

IMG_1525Don’t just think stamps are just for cards, use them on your altered art projects too!

I have painted this MDF Heart with acrylic paint. Then I covered one side in patterned paper and sanded around the edges.

Using the Texture Stamps from Crafter’s Companion I have randionally stamped around the edges using a Brown ink pad.

I then stamped the word Believe in the same way. Then using an embossing pen I marked where I wanted and added gold embossing powder. Once the access was off I then set this with a heat tool. I also did the same to some of the stamped images around the edge.

The finishing touches are a metal butterfly, some tiny gems, flower and leaves. Just add a ribbon to hang it up and you have a lovely wall hanging to brighten up your home or to give as a gift.

Filed Under: Tips and Techniques

Create-a-Card Lace Butterfly Die

IMG_1535Create-a-Card Dies from Crafter’s Companion make such super quick cards. You can use them in the traditional way or by cutting them and adding embellishments you can give them a whole new look.

IMG_1536

On one of these cards I have added Spray and Sparkle in Silver to the Background cut out to give it an over the top glittery look. With the additions of some perfect pearls from a Pearl Wand it makes the card pop and is a really girly look.

Filed Under: Tips and Techniques

Create-a-Card Ornate Lattice Card

IMG_1534This Ornate Lattice die from the Create-a-Card range is a classic style that will never date. It’s simple pattern is crying out for you to add embellshments to turn it into a bling card or just keep it simple with a bow and some pearls.

On the yellow card I have actually cut it out twice and layered it up with 3D Glue Gel to give it added dimension. And as these are so quick to make you can play around with the dies to give each of your cards a totally different look.

I have even cut the Happy Birthday word from another die and inked and layered it onto the Ornate Lattice card to show you can always add a sentment or saying to your cards. So go on start die cutting and play with your Create-a-Card Dies!

Filed Under: Tips and Techniques

Create-a-Card Birthday Flowers Cards

IMG_1533 Using the New Crafters Companion Diesire Create-a-Card Die you are able to put together quick cards in no time at all.

The Birthday Flowers Die is new to the range and can be used in so many ways. These dies are great as all the hard work has been done for you.

Using it in the tradional way you can just add embellishments such as flowers to give dimension to your card and make it look really special.

This Birthday Flowers Die does look feminine however, but changing the colours and adding some male embellishments (I have add coggs) you can turn this card into a man’s card.

I have also cut the Happy Birthday words out of this die and laid them over another Create-a-Card Die to give yet another look to a card. So play around with your Create-a-Card Dies and see how many different cards you can make!


Filed Under: Tips and Techniques

Super Quick 8×8 Mini Scrapbook

IMG_1531This 8×8 Mini Scrapbook is made the same way as my “Super Quick 8×8 Mini Scrapbook” but instead of using patterned papers I have used Coredinations Card stock and Crafter’s Companion 8×8 Textures Embossing Folders.

This mini uses just four 8×8 envelopes and 4 sheets of coredinations 12×12 cardstock.

IMG_1530

By embossing the card and sand it with the Sand It Set, it gives a great affect. I have also sanded the edges of the photo mats to make it all match. I have then used the Crafters Companion Textures Stamps to add more insterest to the book.

IMG_1532This Mini Scrapbook is super quick to make using very few materials. You can fill it with photos ready to give away or it makes a great gift ready to be filled with photos. So think about it embossing folders are not just for cards!

For a full Video Tutorial using a different paper collection


Filed Under: Tips and Techniques

  • My Account

Copyright © 2025 · Dawns Inspirations ·